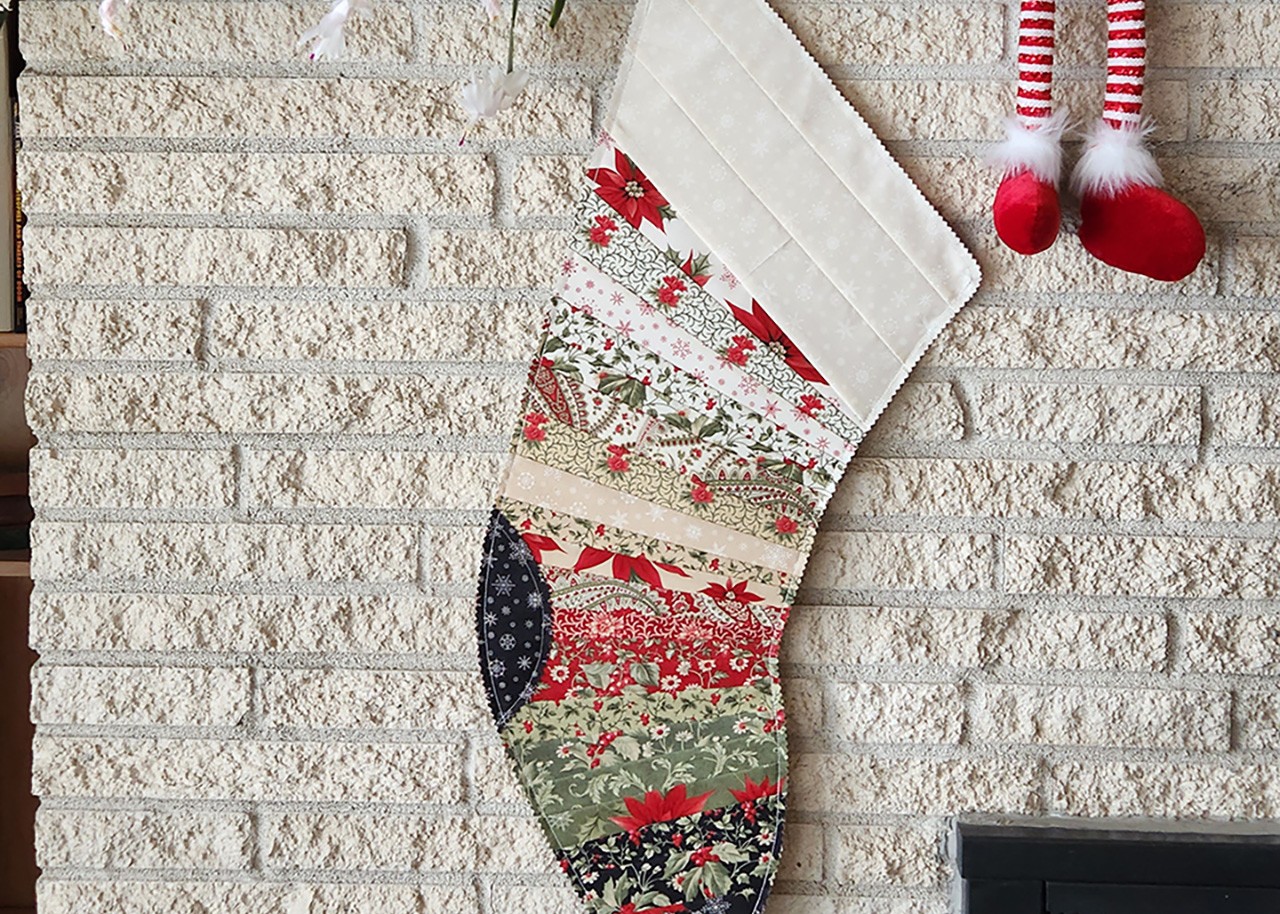
Super Easy Strippy Stocking
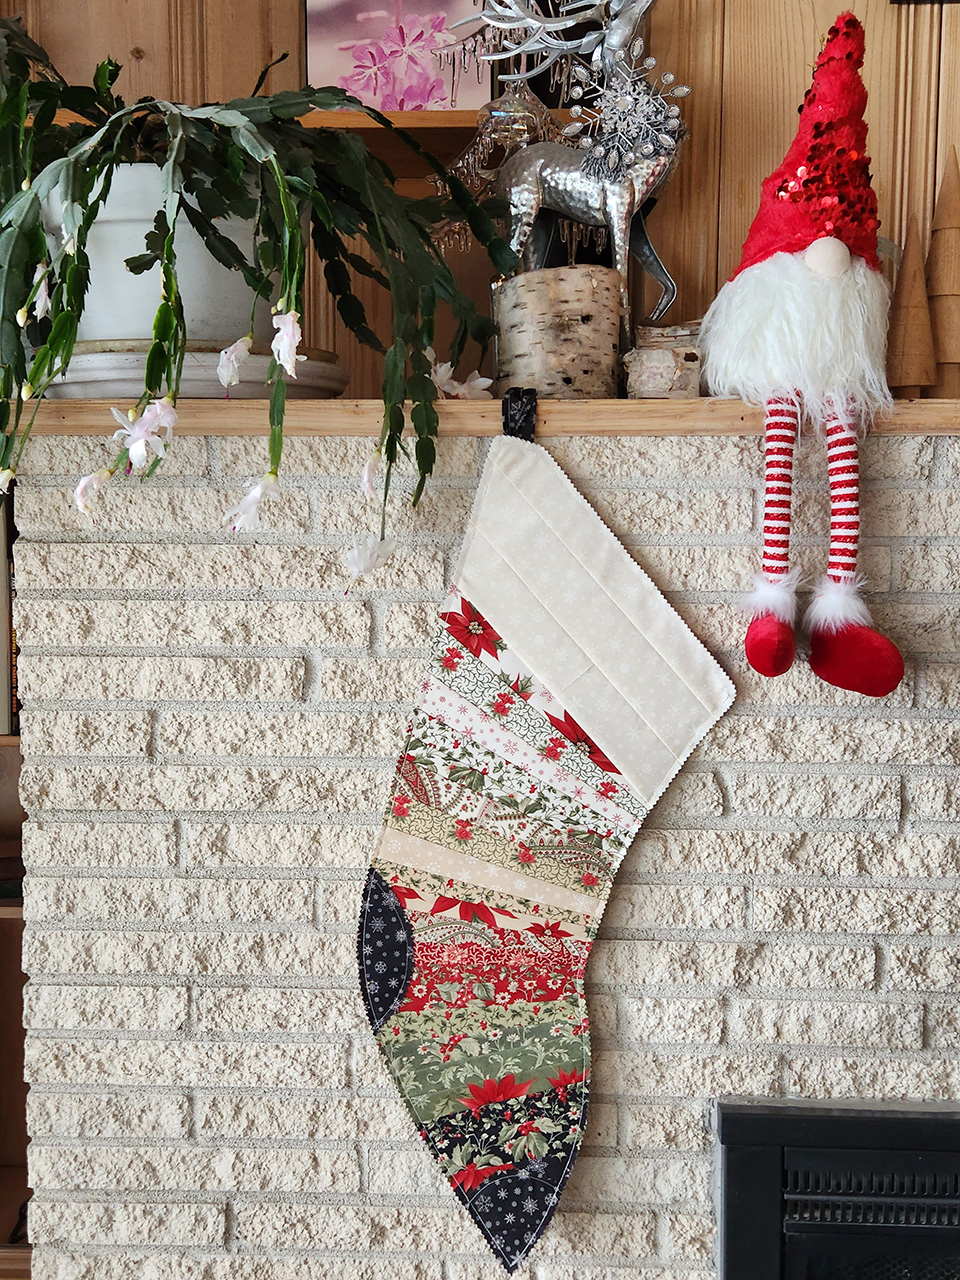
INNOVA-Works Super Easy Strippy Stocking!
Super fun paper piecing pattern perfect for jelly rolls or scraps!
You can purchase the pattern here and follow along below.
Today we are using a Poinsettia Plaza Jelly Roll from 3 Sisters for Moda.
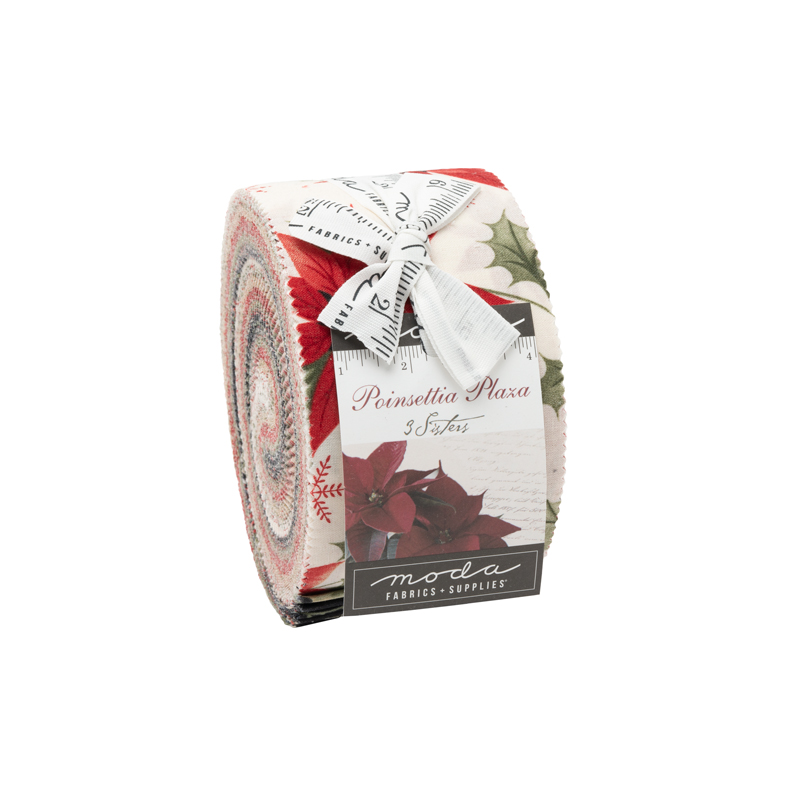
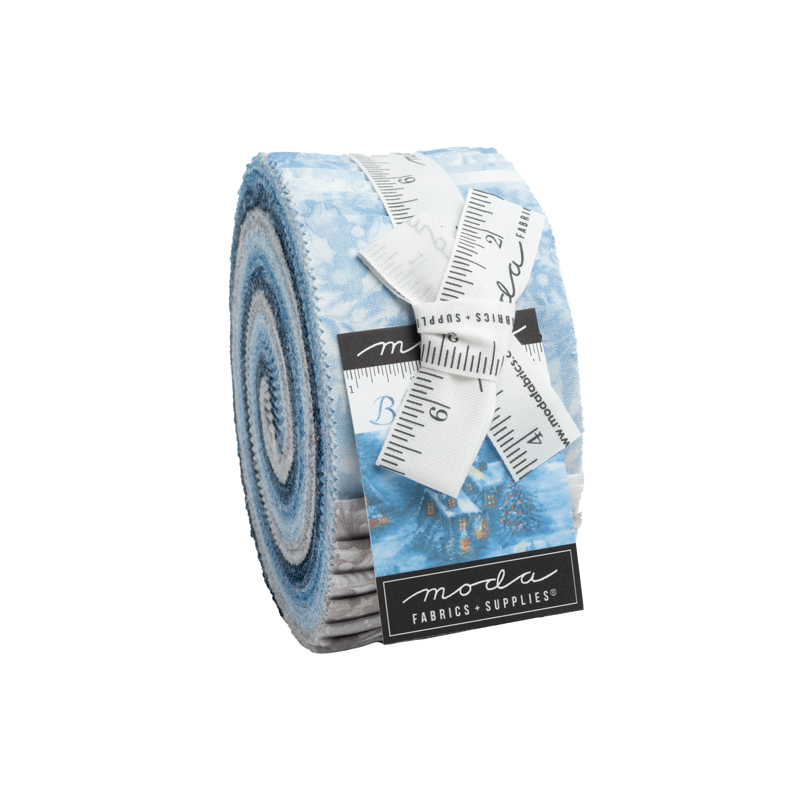
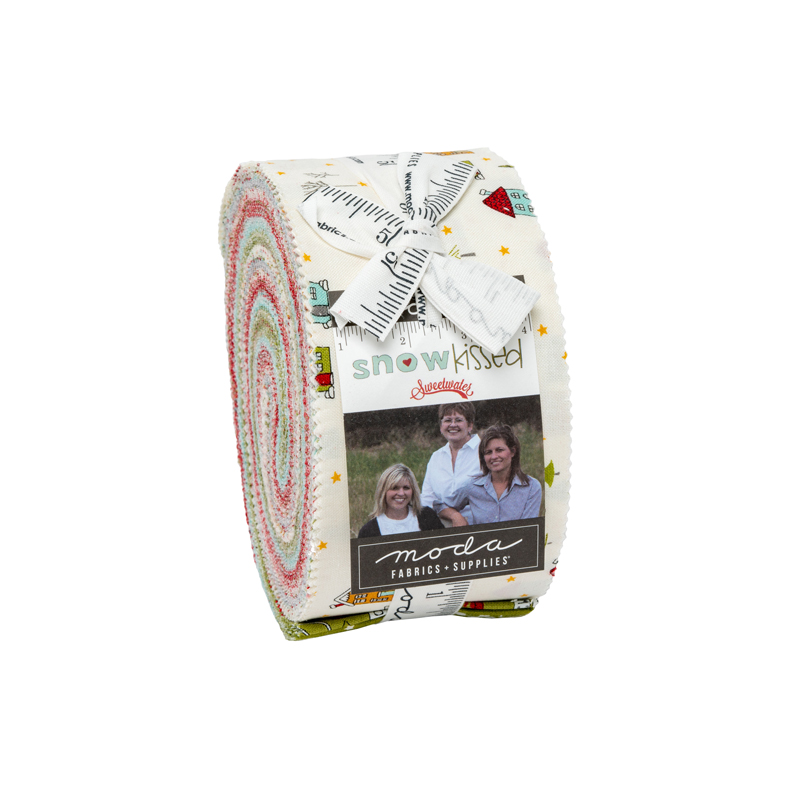
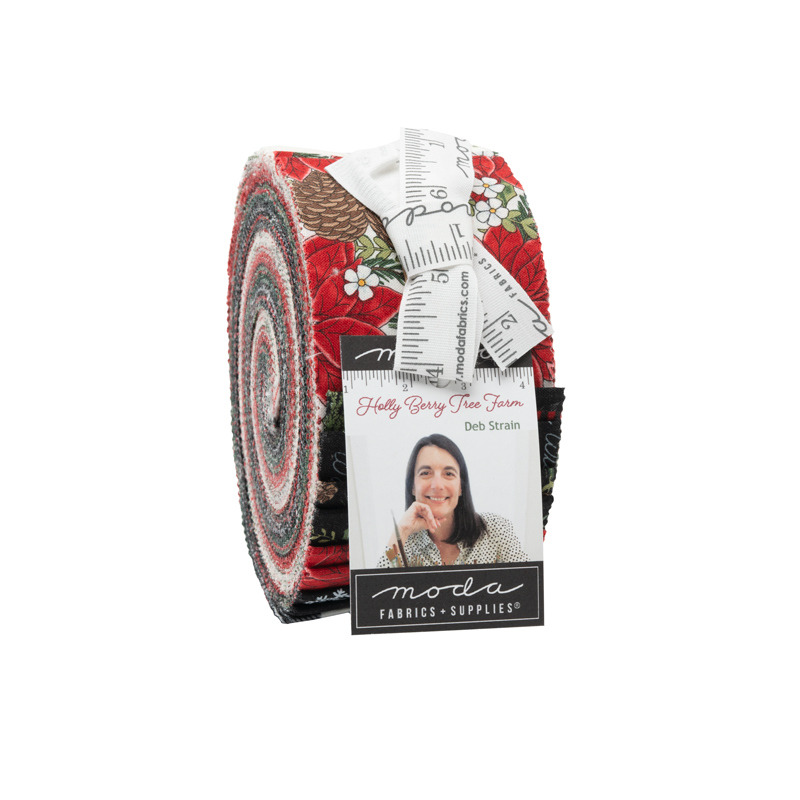
We have a variety of holiday jelly rolls available in our online store!
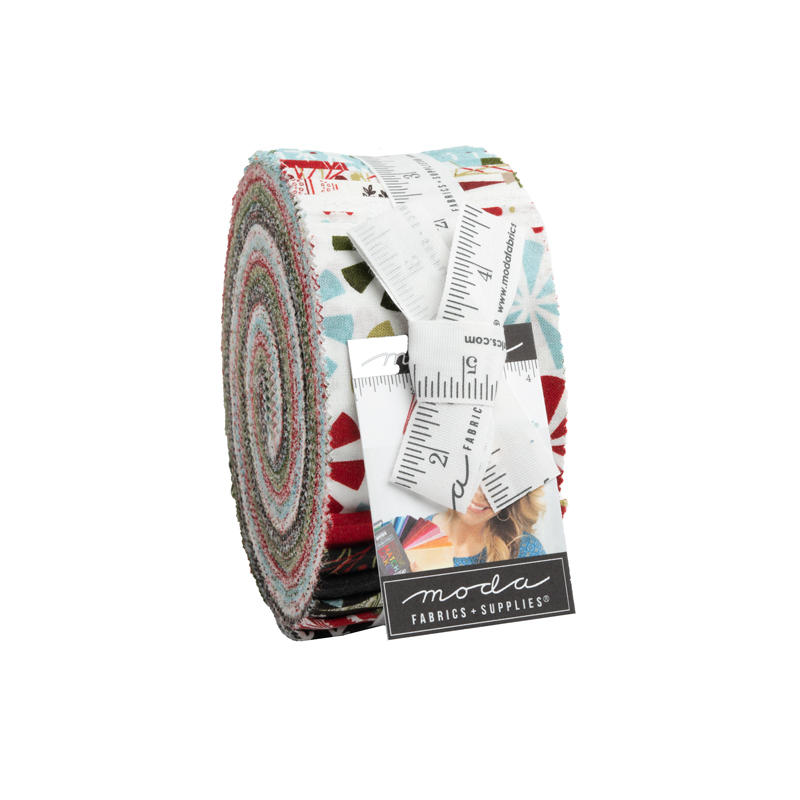
Holly Berry Tree Farm by Deb Strain
Lets gather our materials:
Super Easy Strippy Stocking Pattern
21 - 2.5” x 12” assorted fabric strips
1 - Fat eighth for the “cuff”
1 - Fat eighth for the “heel and toe”
1 yard for the lining and the backing
10” of 1/2” twill tape, or preferred material for the hanging loop
Time to get started!
Following the pattern, trim your paper pattern, and prepare your back and lining fabric pieces.
Starting at piece #1:
On back side of pattern, line up edges of fabric strips (right sides together) with sewing line on front side of pattern.

Sew on the line on the front of pattern with fabric underneath the paper pattern.

A light box or a bright window is super helpful to line up each new strip.
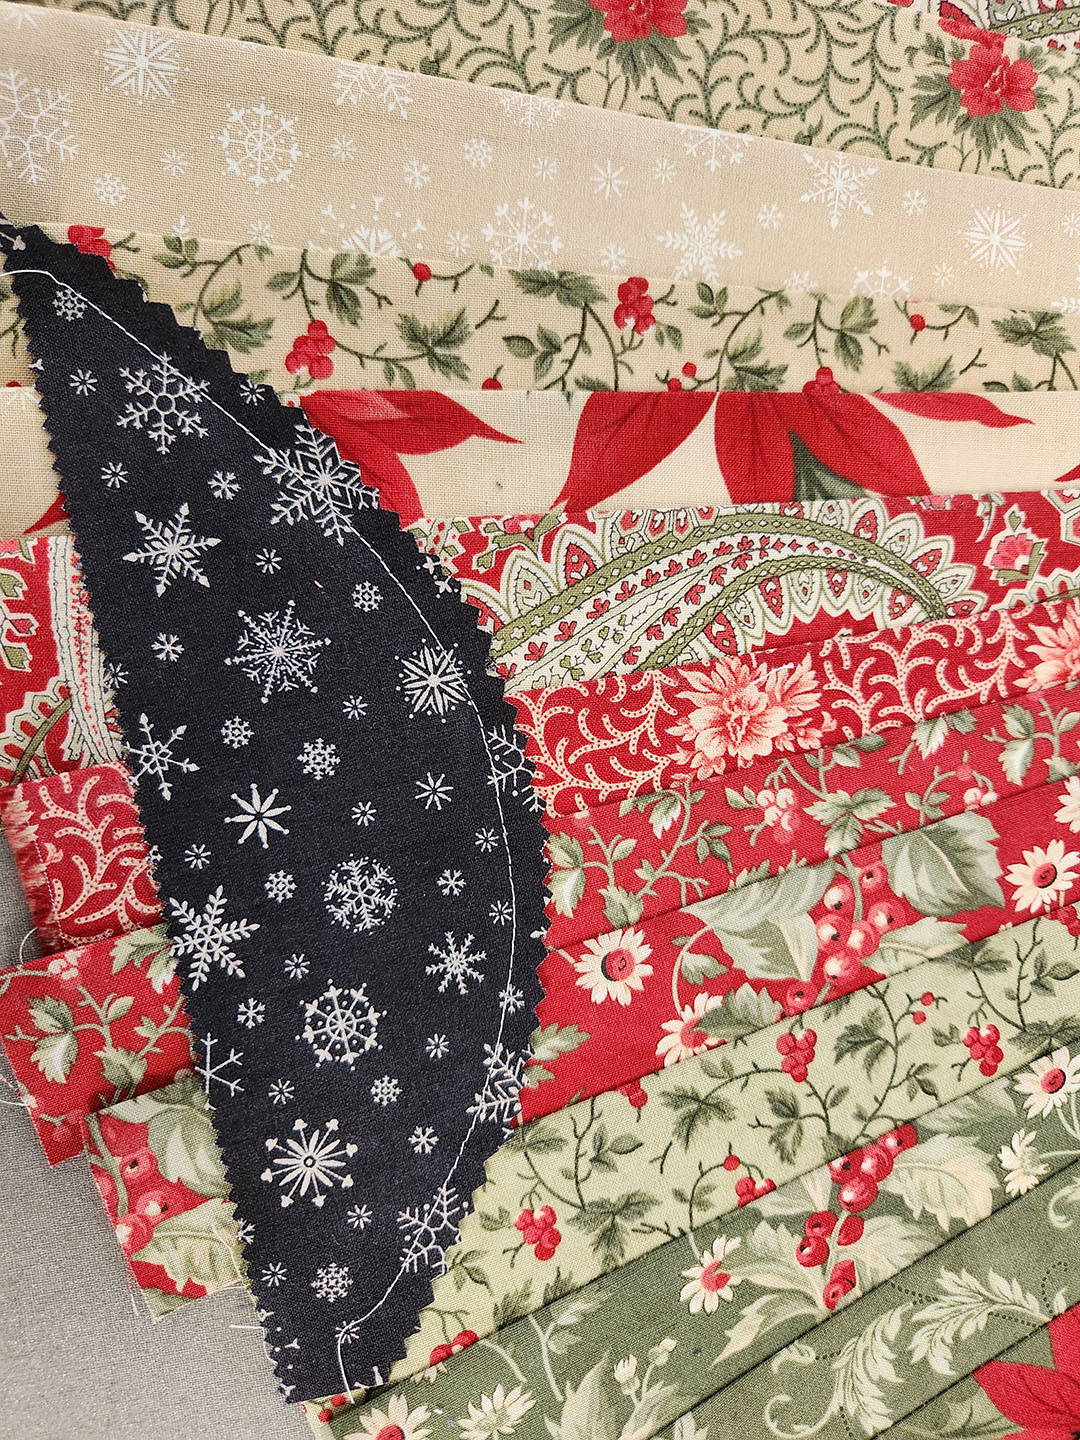
Stitch on pattern line, fold pattern paper back, then trim seam allowance to ¼ inch, and press open.
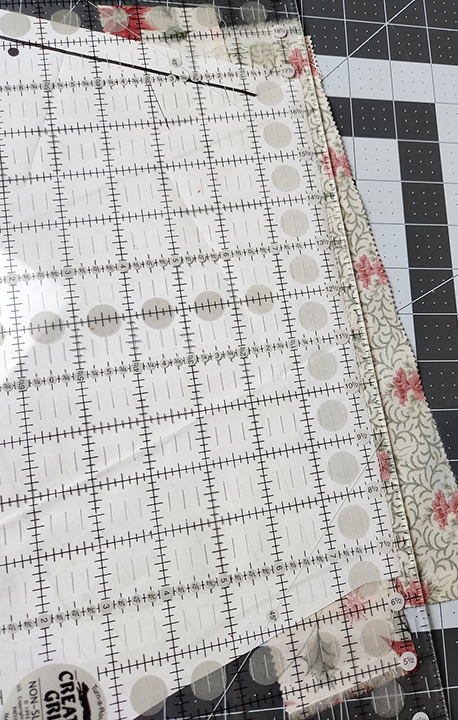 Sew all the strips on in the same manner.
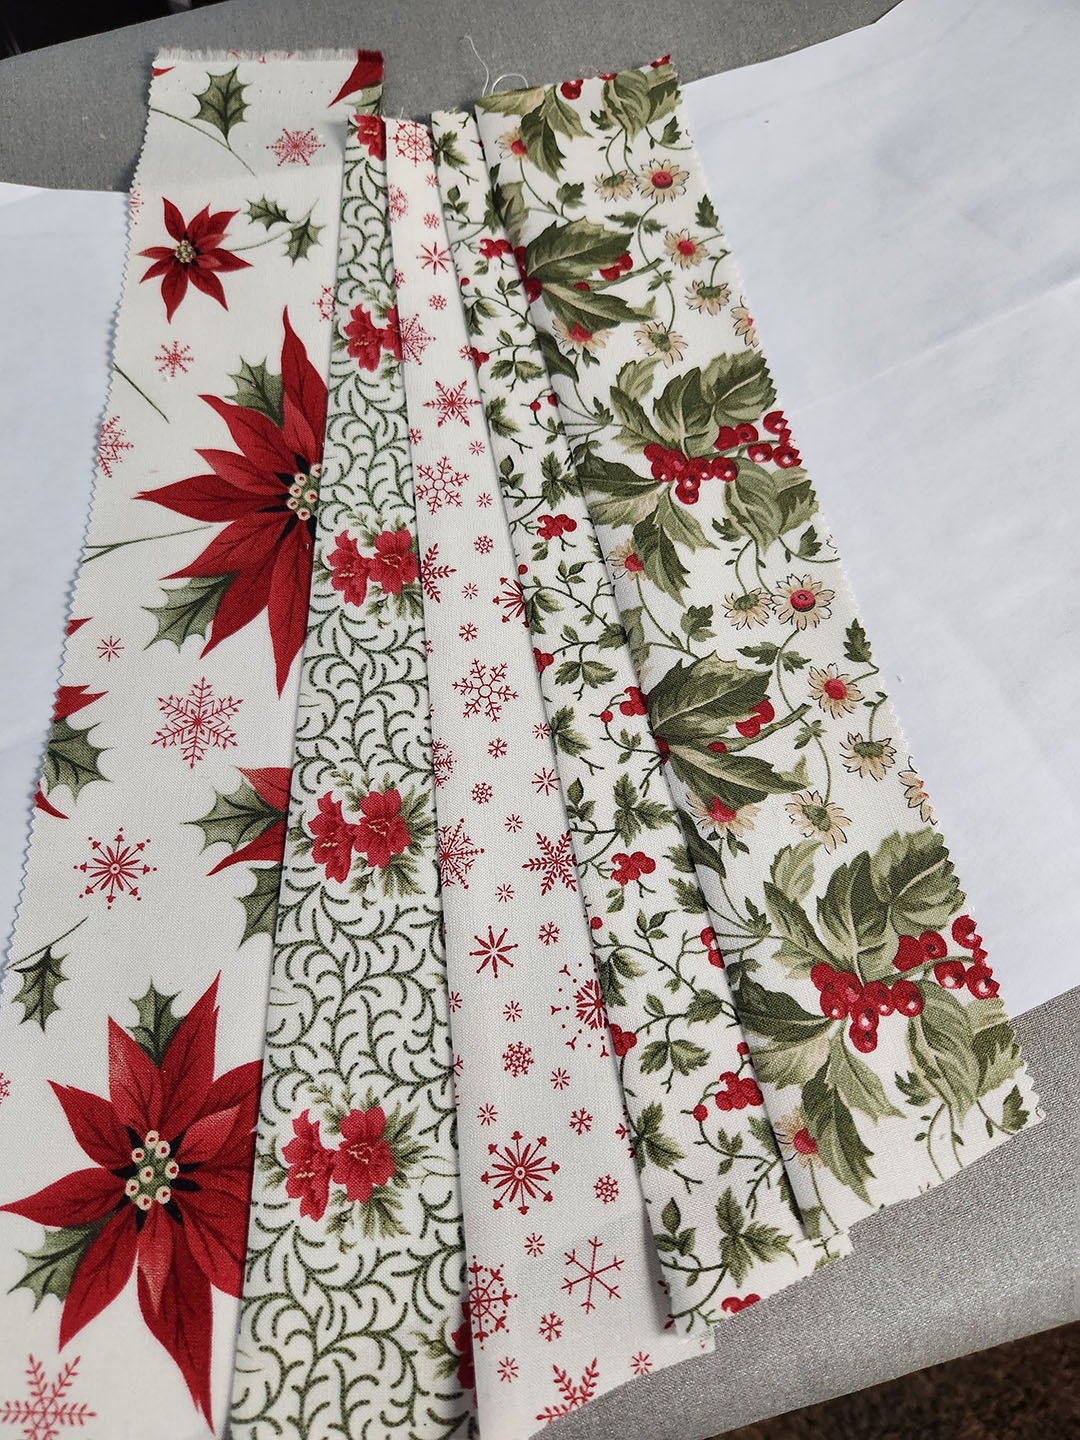
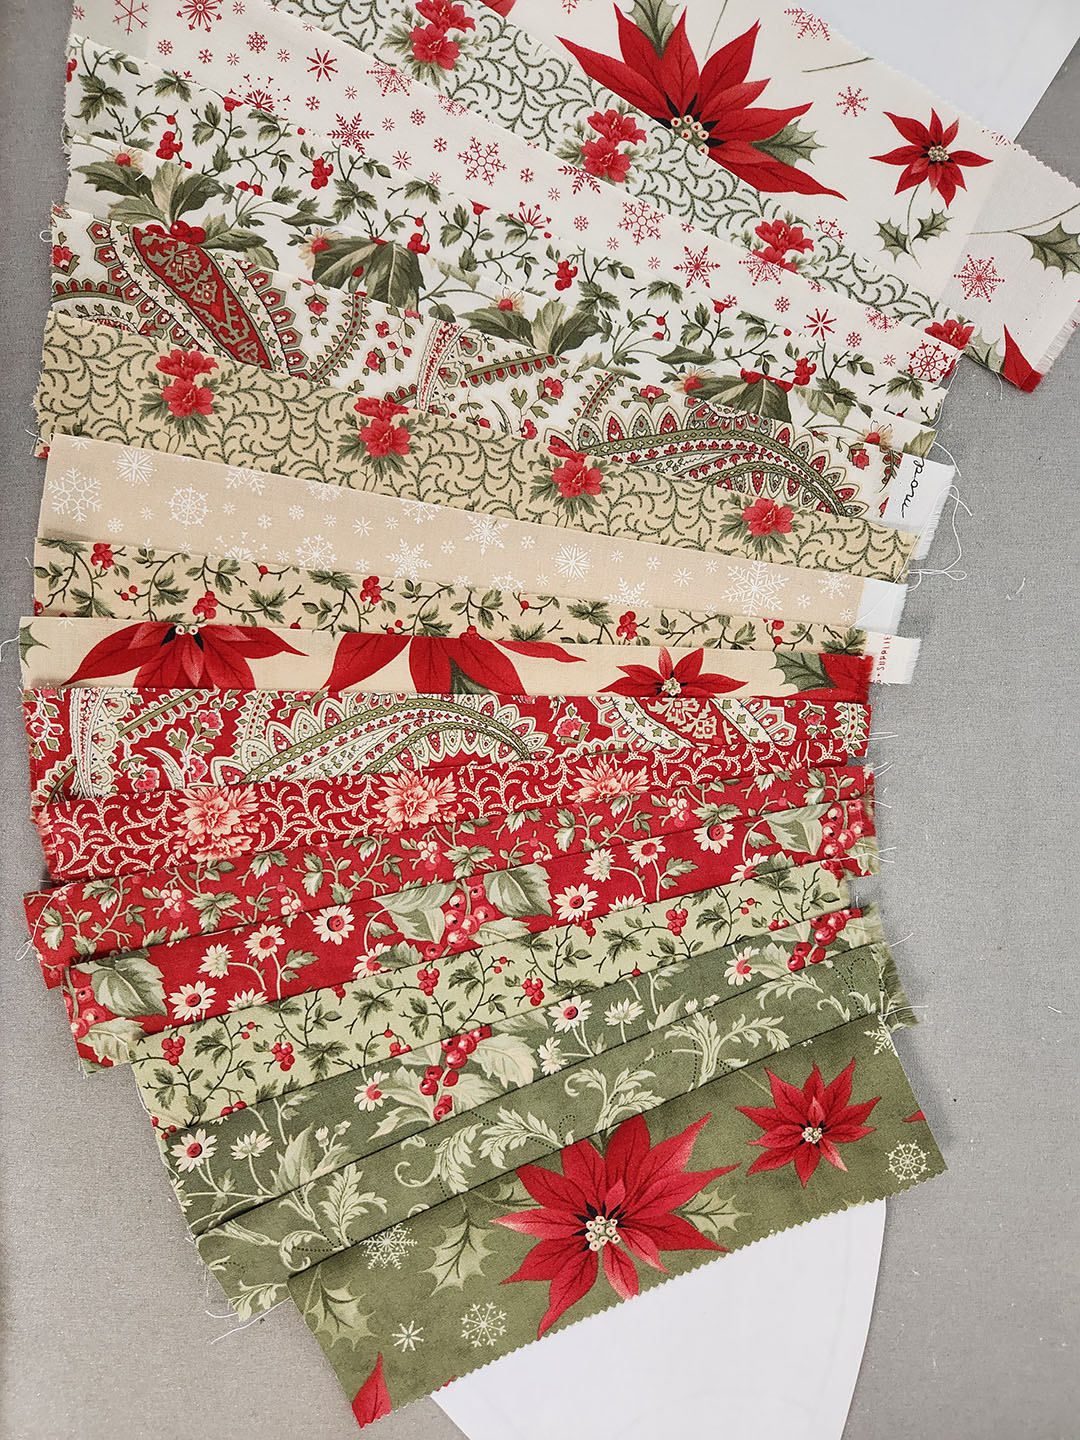
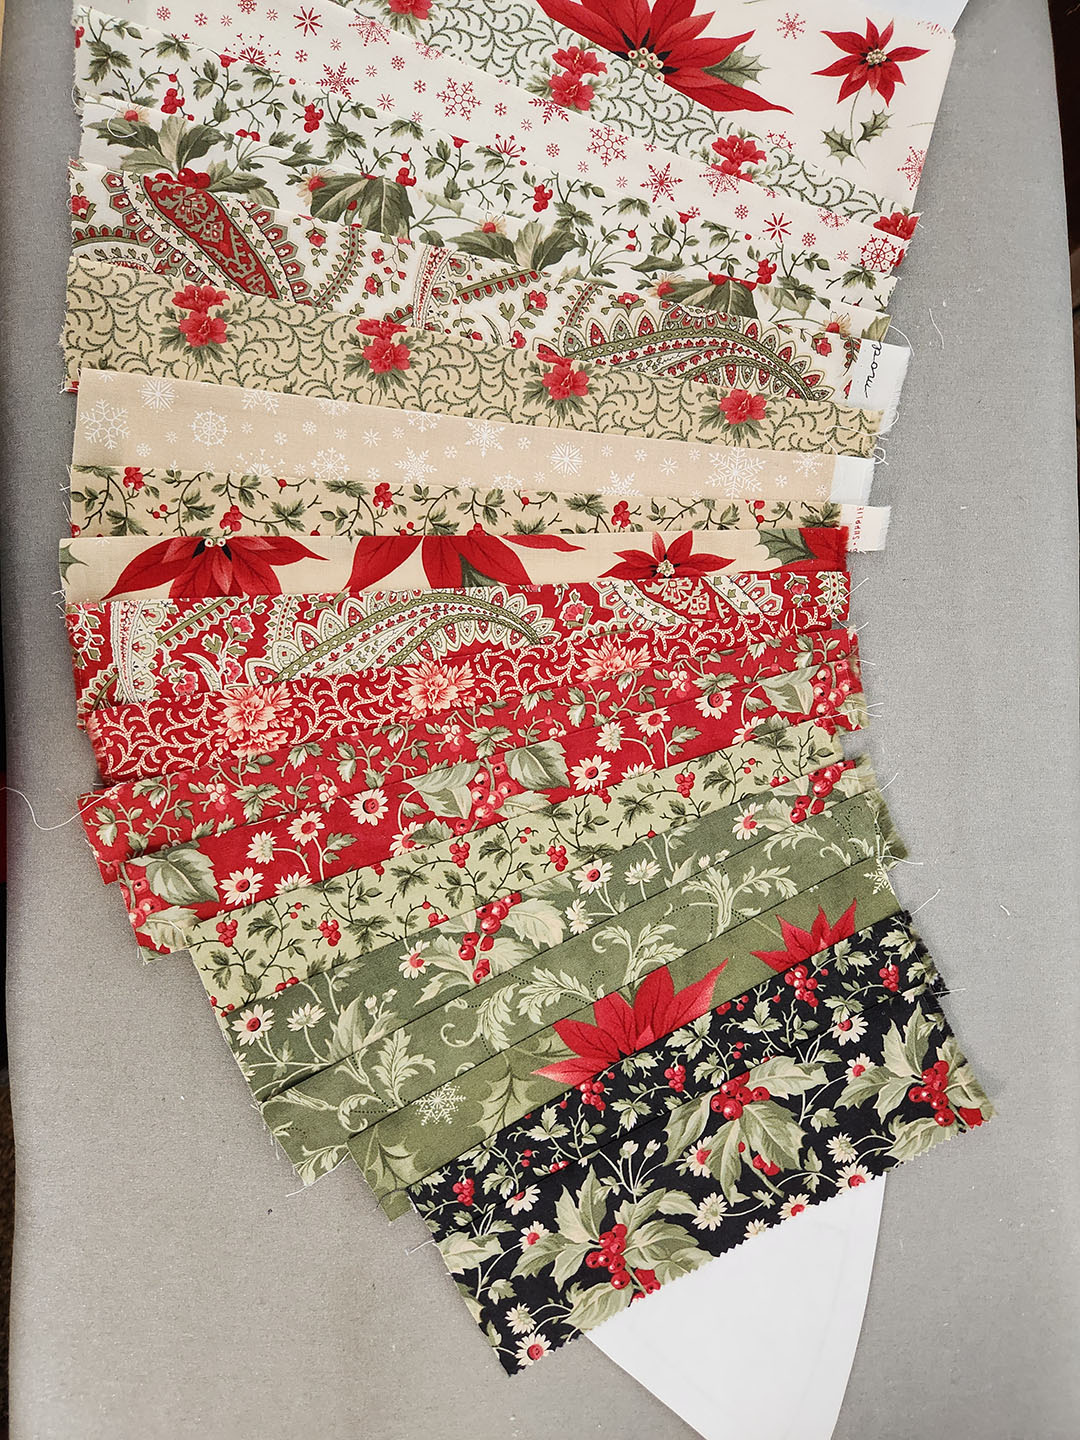
Sew two pieces together to cover toe piece. Pink the edges with pinking shears.
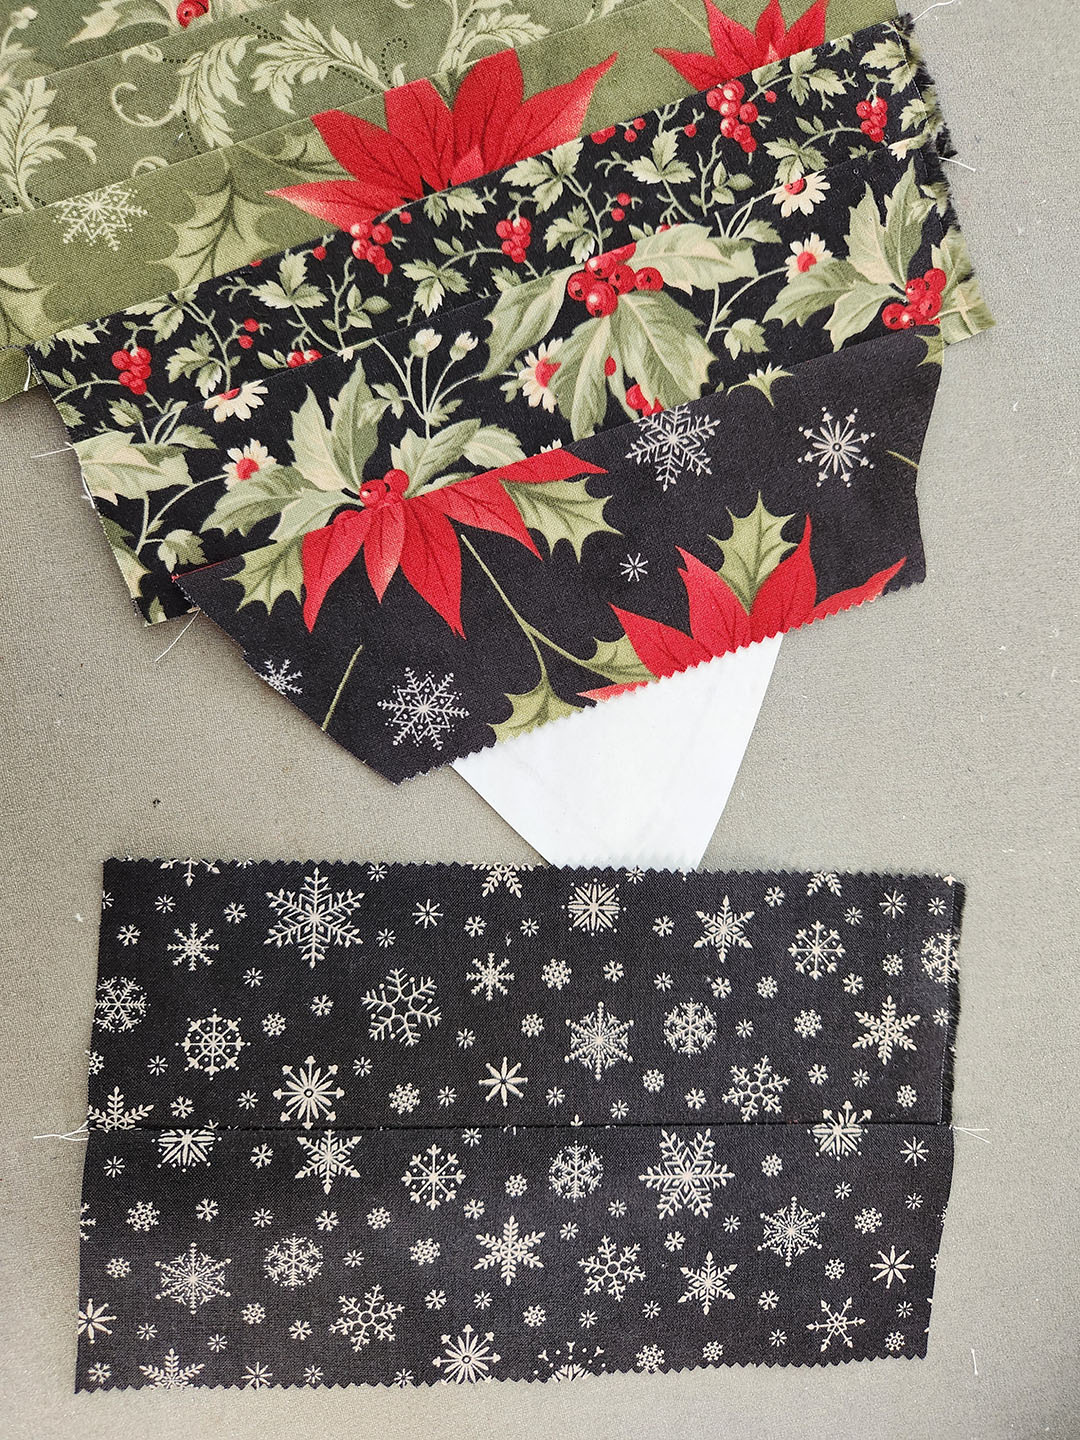
Stitch on the toe piece and pink the edges. Repeat for the heel piece.
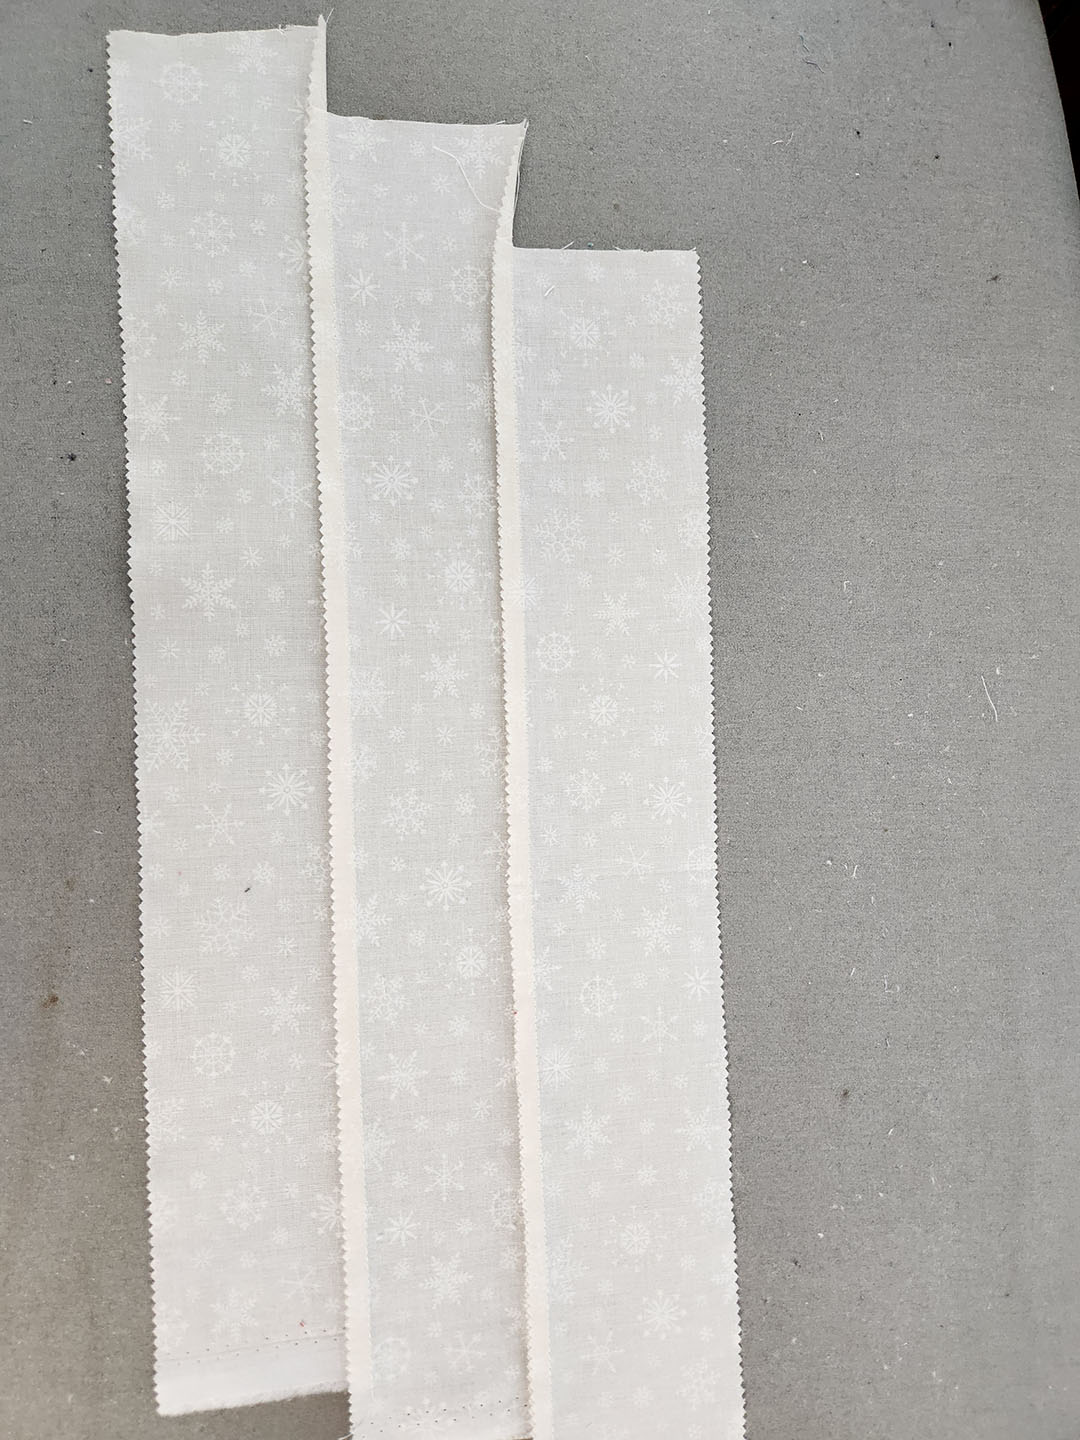
Sew three strips of the lightest jelly roll strips together to make the “cuff” of the stocking.
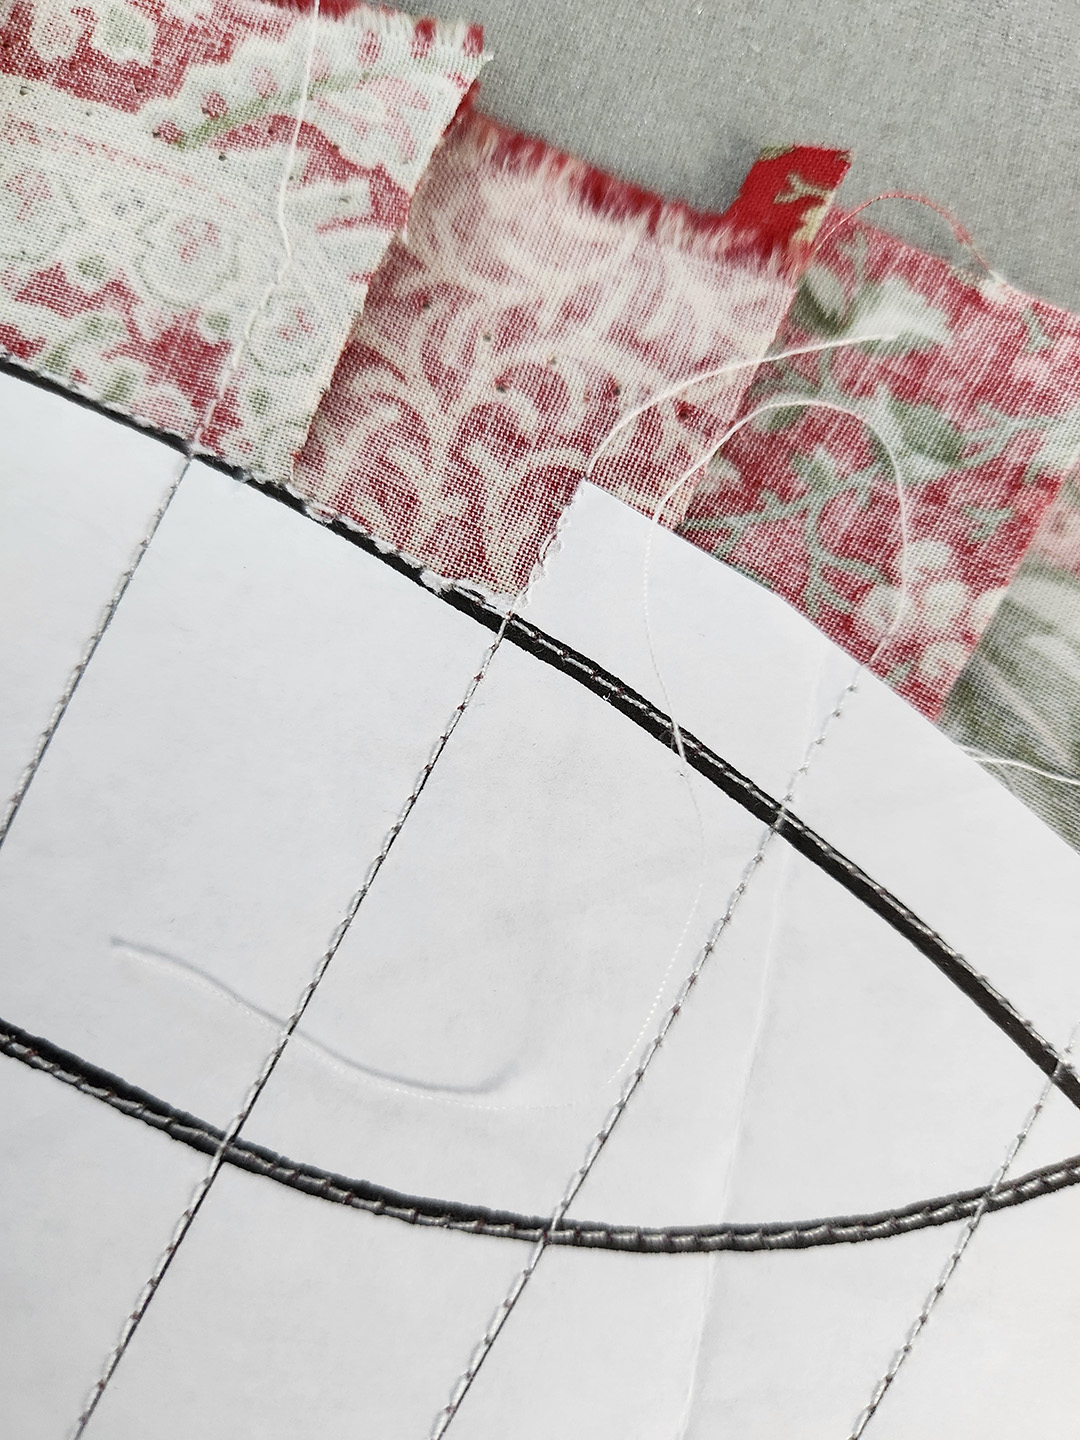
Stitch all the way around the stocking pattern.
Tear away the outer edge of the paper (inside too if you want, but not necessary).
Layer fabric pieces in the following order:
Back, right side down
Back lining, right side up
Front lining, right side down
Striped front, right side up
Pin all four layers together.
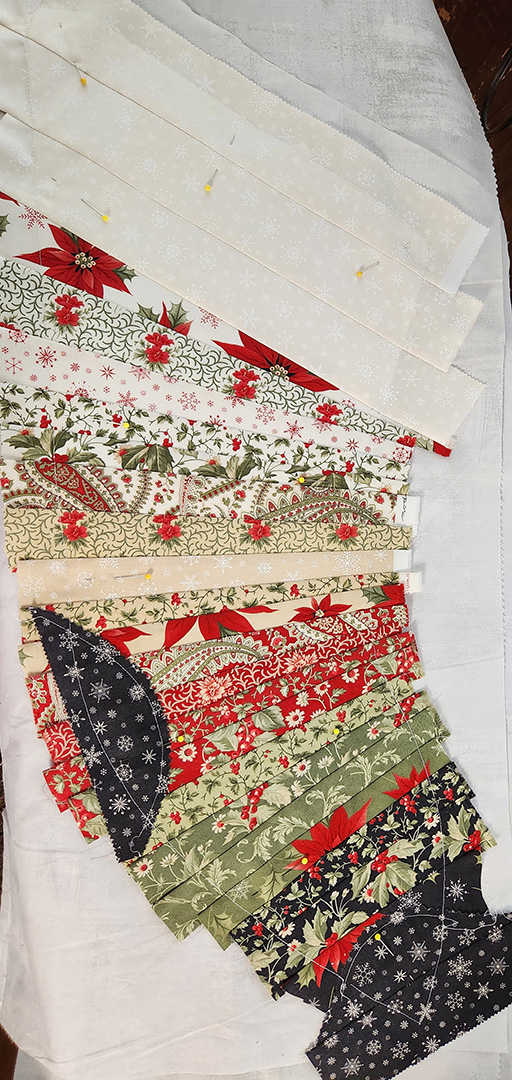
Sew all four layers together using the stitching line on the striped piece.
Using pinking shears, cut away excess ¼ inch from the stitching line.
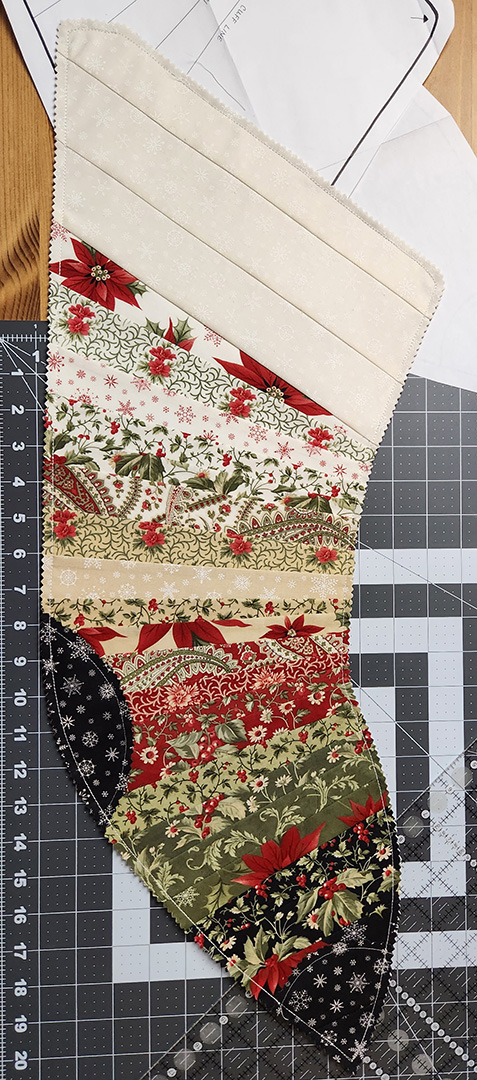
Unsew the top edge and down the sides a couple inches.
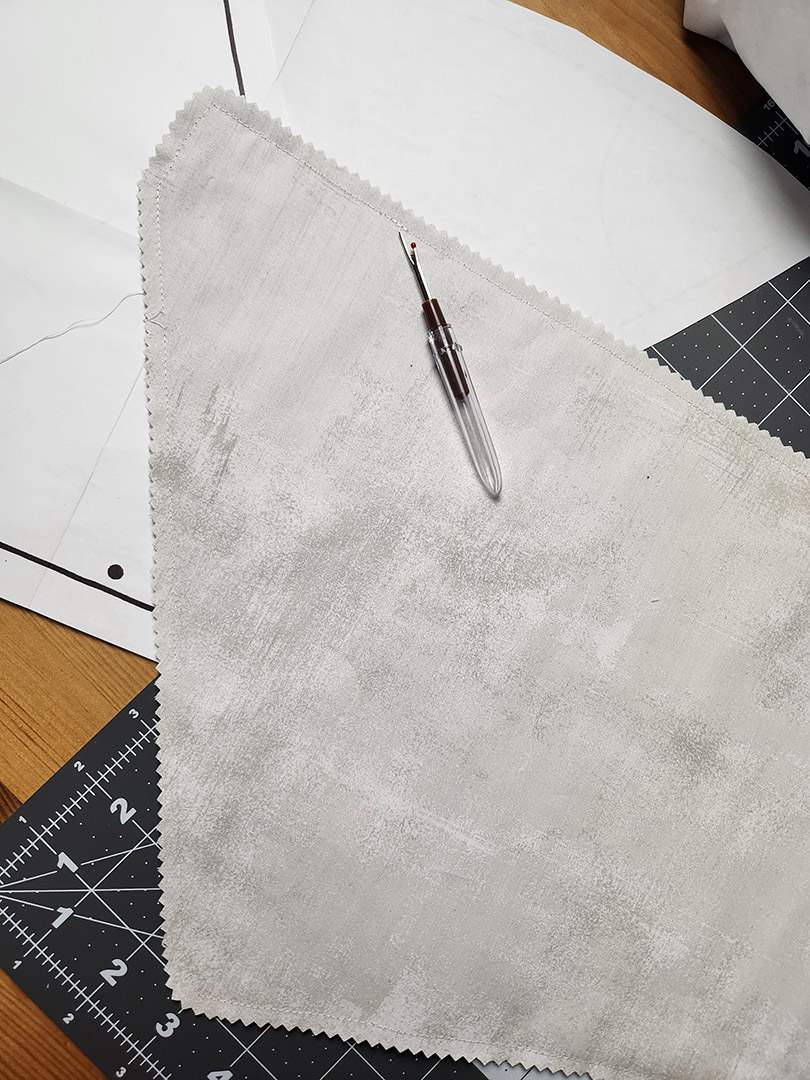
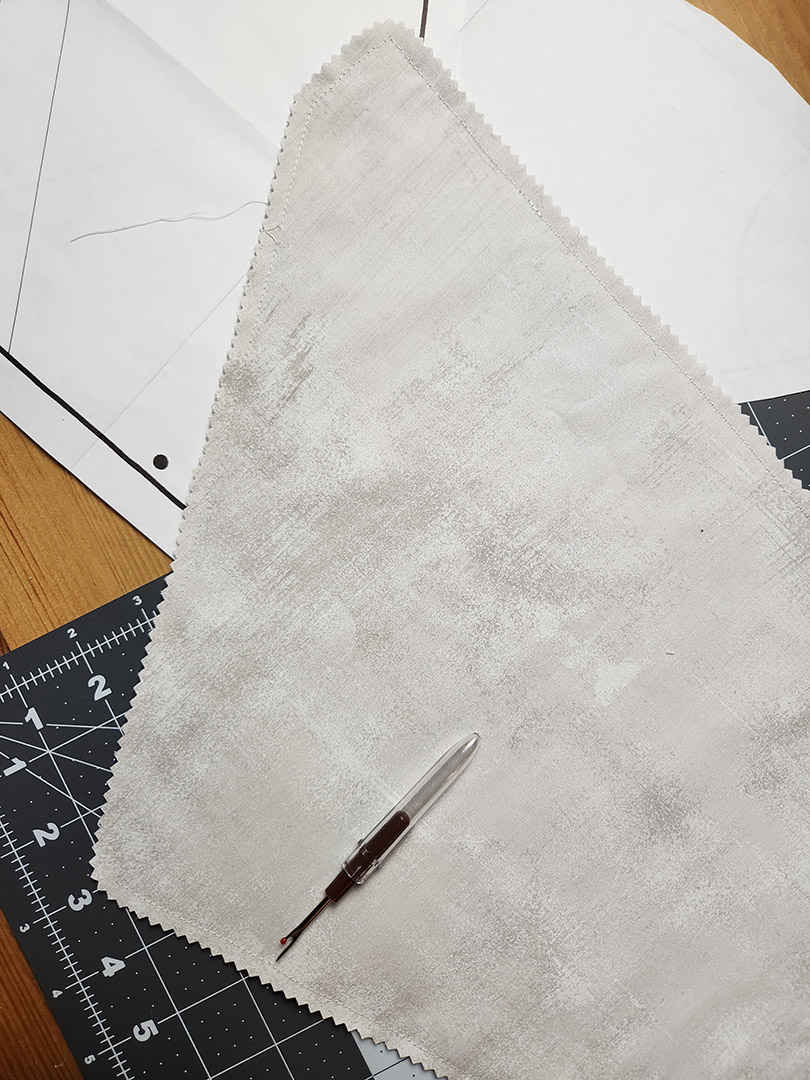
Sew striped front and front liner together along the edge of the previously unsewn line.
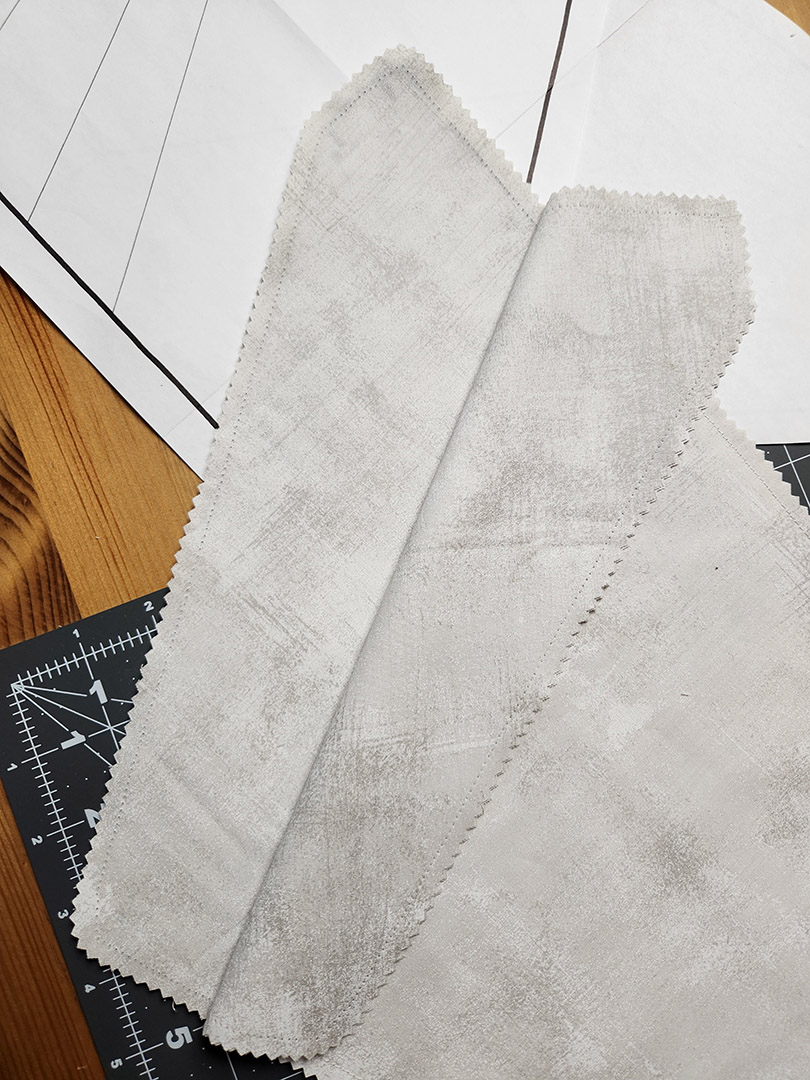
Insert the hanging loop between back and back liner, then sew back together along the edge of the previously unsewn line.
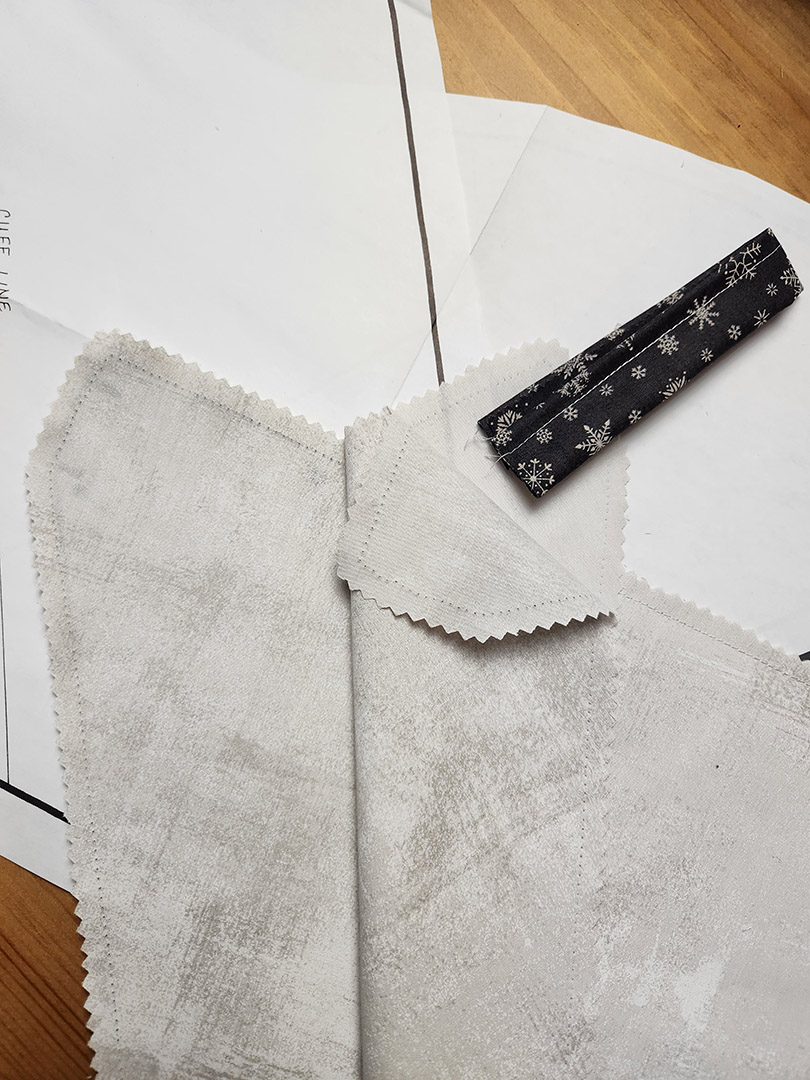
Finish by sewing the sides back up to the top edge, through all four layers.
Leave the top open for goodies!
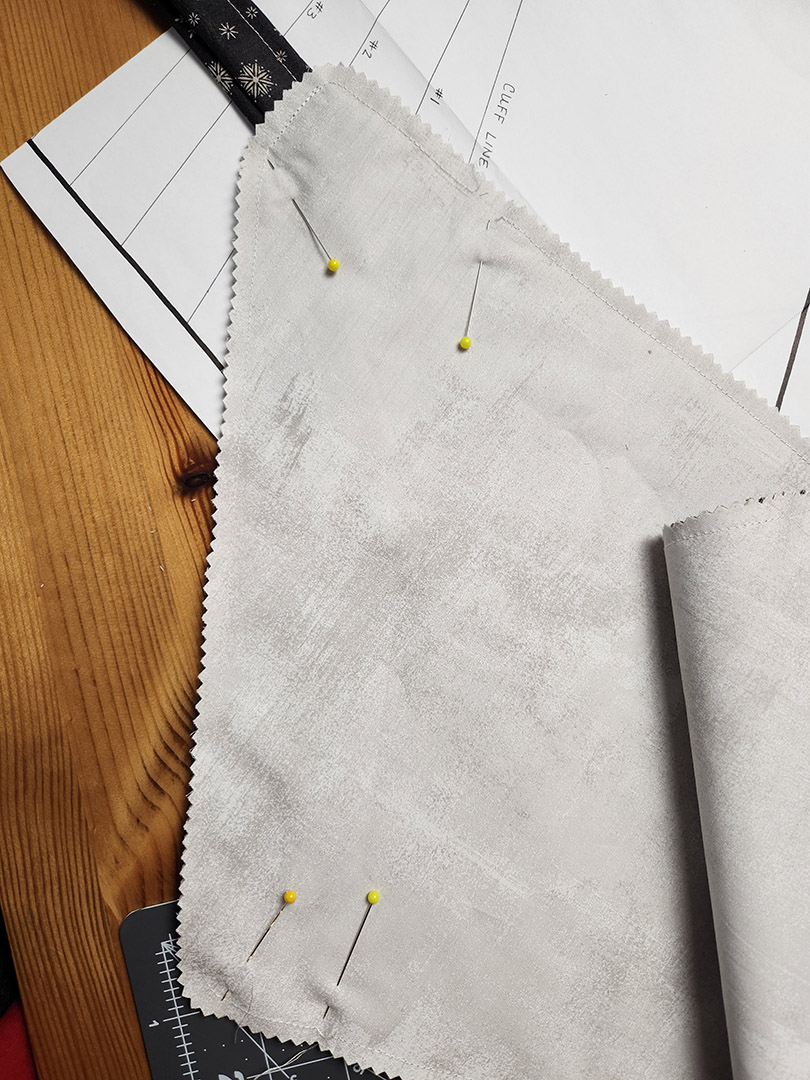
All finished!

When you subscribe to the blog, we will send you an e-mail when there are new updates on the site so you wouldn't miss them.
Steps to get your Free 14 Day Trial for AutoPilot™ Simulator:
- Get your serial number by clicking here, fill out the form and hit the SUBMIT button.
*Your serial number will arrive in the email you provided. Check your junk folder if you do not see it right away. - Download the AutoPilot Mach 3 Simulator Free Trial Version here.
*You will need a minimum of Windows 8 pro 64bit. - Follow the prompts to install and activate the simulator with your provided serial number.
*If you get a message saying MSFT Defender is protecting your computer, click more and run anyway. - Enjoy your AutoPilot™ Mach 3 Simulator Free Trial Version for 14 days, then contact your local INNOVA dealer to order your new AutoPilot™ Mach 3 and enjoy those features for the lifetime of the product!
Disclaimer
License and Disclaimer of Warranty Information By downloading, wiring to or using the AutoPilot Simulator program and hardware, you acknowledge acceptance of the following DISCLAIMER OF WARRANTY: DISCLAIMER OF WARRANTY ALL THE COMPUTER PROGRAMS AND SOFTWARE ARE SOLD "AS IS" WITHOUT WARRANTY OF ANY KIND. WE MAKE NO WARRANTIES, EXPRESS OR IMPLIED, THAT THEY ARE FREE OF ERROR, OR ARE CONSISTENT WITH ANY PARTICULAR STANDARD OF MERCHANTABILITY, OR THAT THEY WILL MEET YOUR REQUIREMENTS FOR ANY PARTICULAR APPLICATION. THEY SHOULD NOT BE RELIED ON FOR SOLVING A PROBLEM WHOSE INCORRECT SOLUTION COULD RESULT IN INJURY TO A PERSON OR LOSS OF PROPERTY. IF YOU DO USE THEM IN SUCH A MANNER, IT IS AT YOUR OWN RISK. THE AUTHOR AND PUBLISHER DISCLAIM ALL LIABILITY FOR DIRECT, INDIRECT, OR CONSEQUENTIAL DAMAGES RESULTING FROM YOUR USE OF THE PROGRAMS OR FROM CONNECTING IT TO YOUR MACHINE.
The computer programs AutoPilot™ Simulator are Copyright © 2019 of Neal A. Schwarzberger and ABM International, Inc.. AutoPilot™ Simulator is a trademark of ABM International, Inc. AutoPilot™ Simulator is a proprietary product, its concept, design and functionality are Property of ABM International, Inc.

