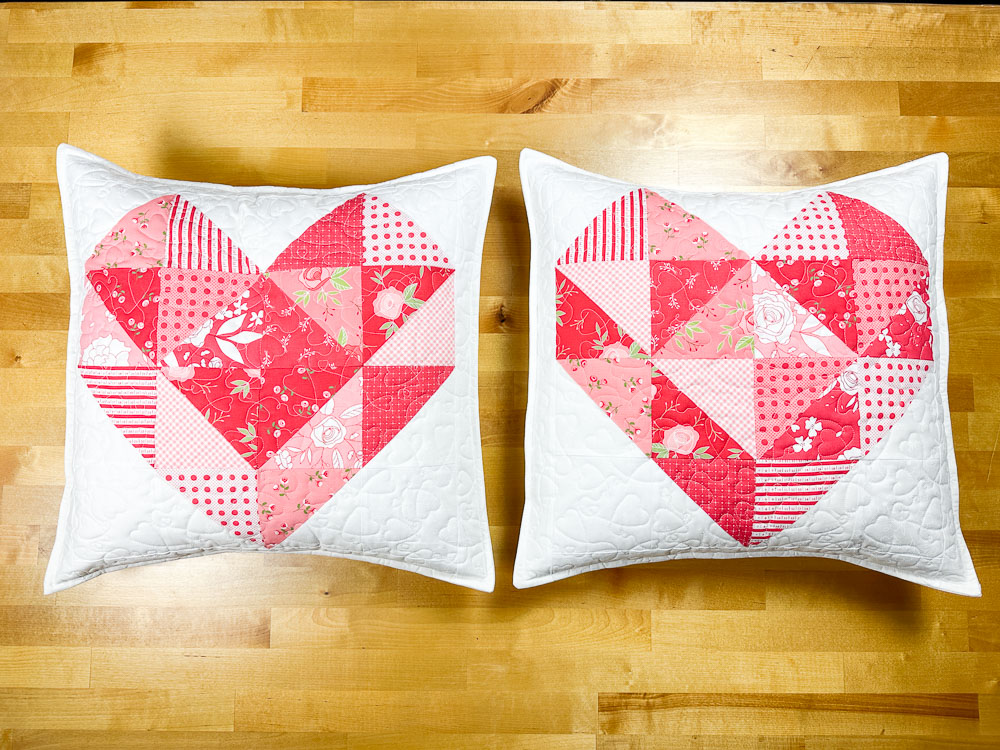
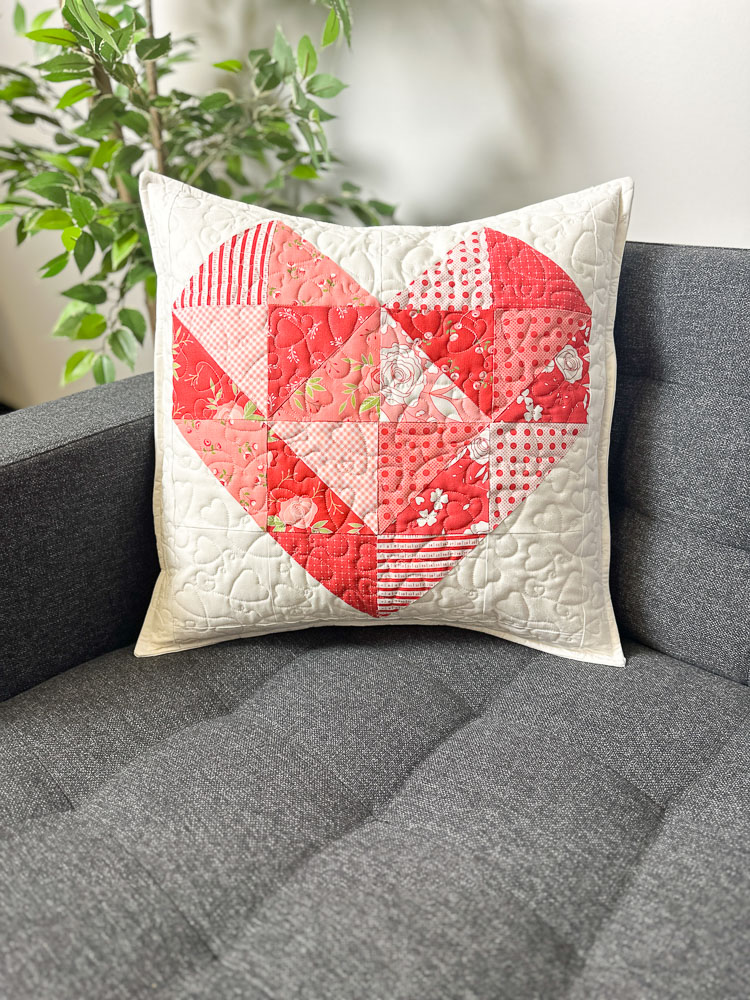
Valentine's Quilted Heart Pillow Cover
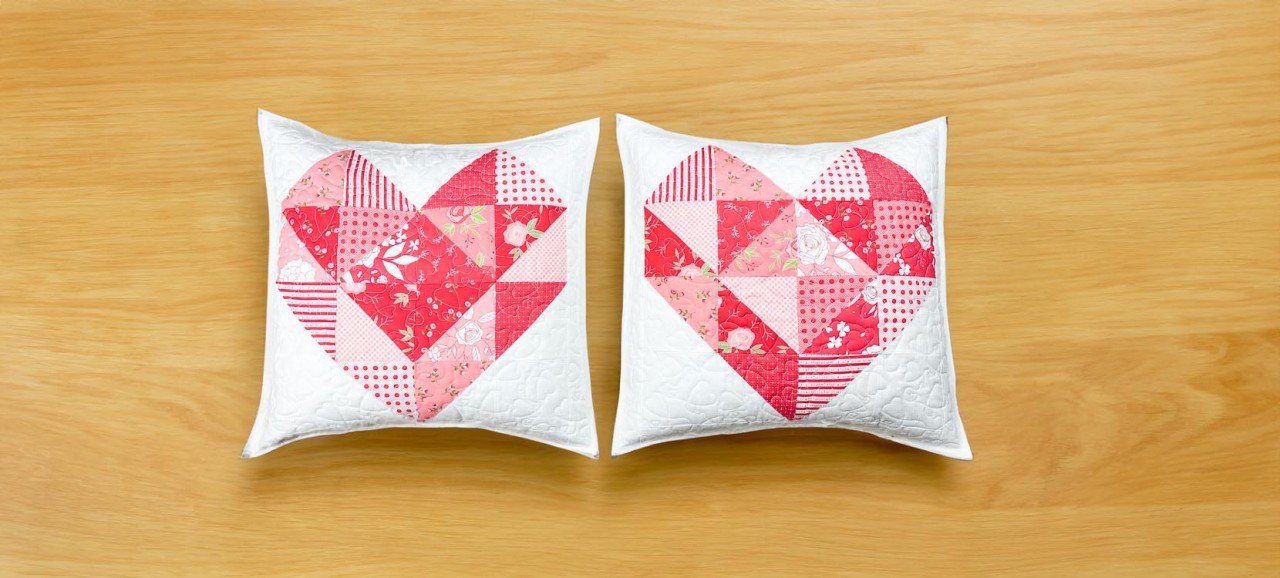
Elevate your Valentine's Day celebration with our quilted Heart Envelope Pillow tutorial – a delightful way to share love! Create not just one, but two sets of charming, quilted heart pillows. Whether it's for yourself or a thoughtful gift, our step-by-step guide ensures a seamless crafting experience.
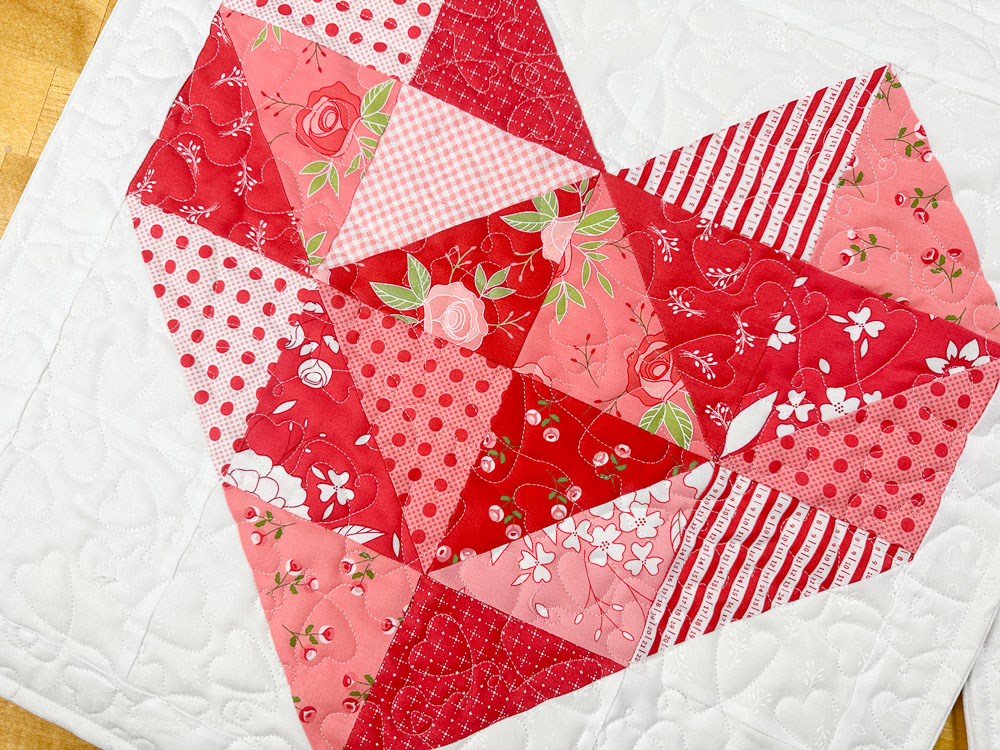
The heart block, crafted with Half Square Triangles (HST), makes this project precut, scrap and beginner-friendly!
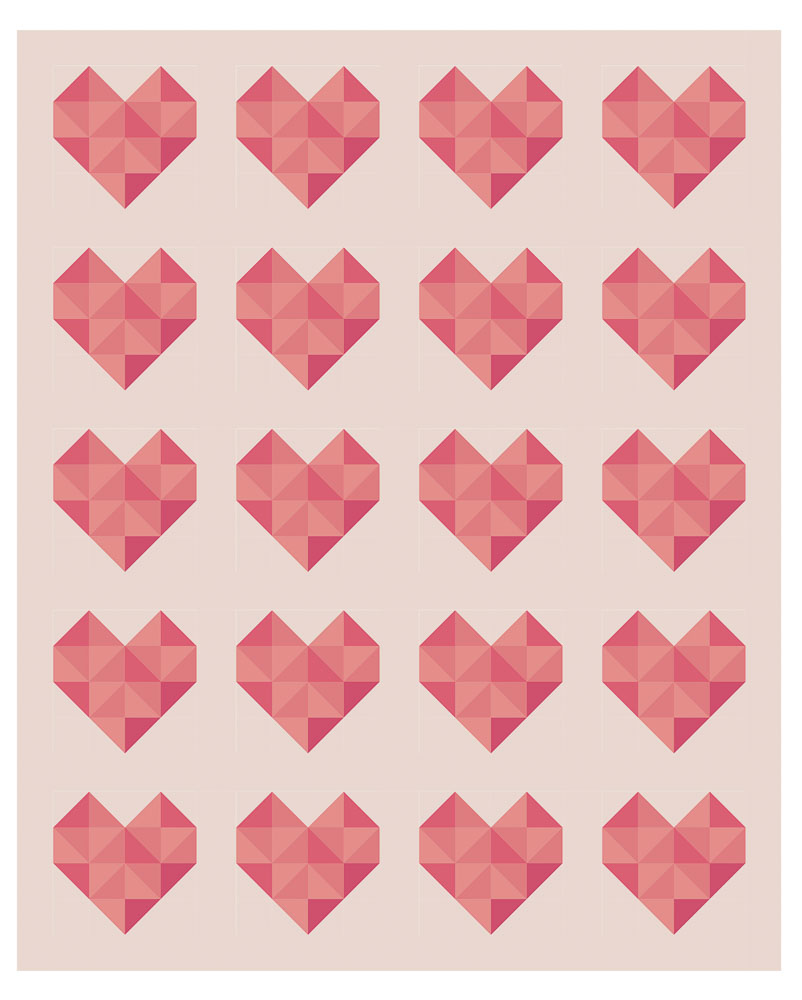
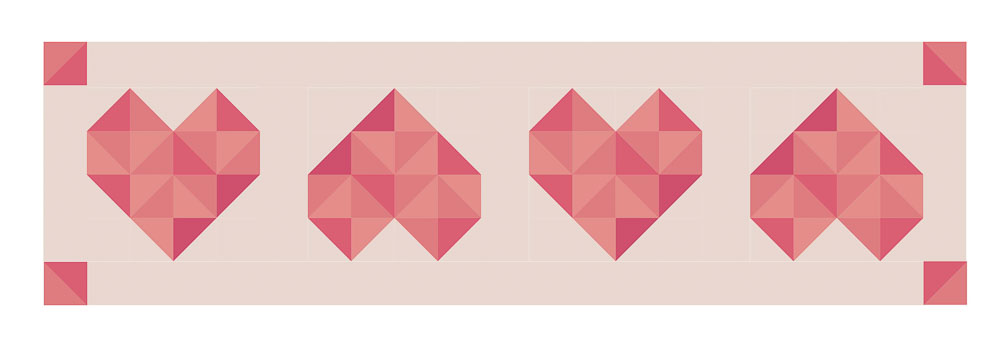
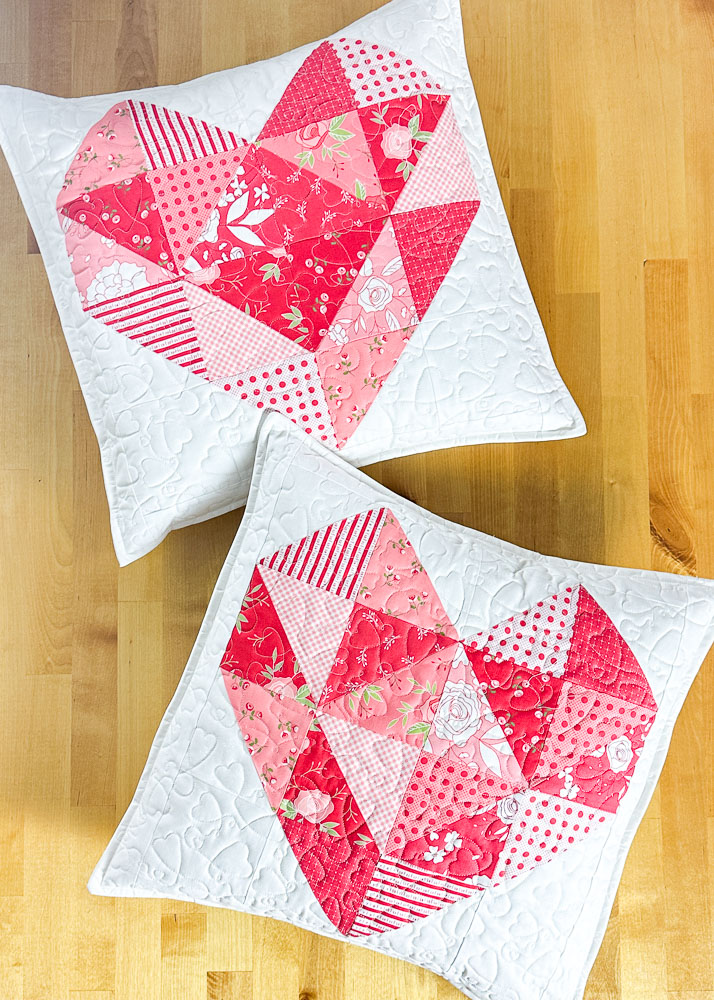
Bring these heart blocks to life in different layouts for a truly personalized touch.
Check out these layouts using this heart block –
Assemble heart blocks to create a quick modern Valentine's quilt!
or an elegant table runner using a Charm Pack and the Eight at a Time HST method.
LETS GET STARTED
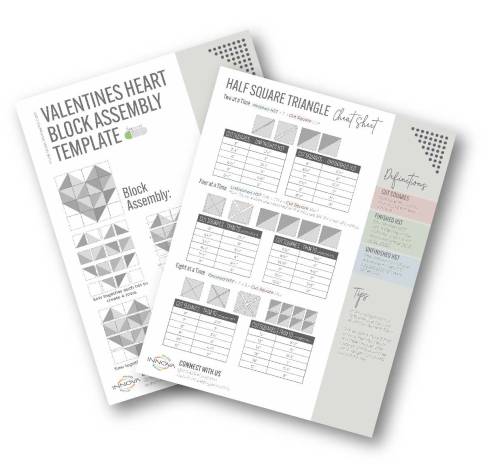
Download the print-friendly heart block assembly template and helpful HST Cheat Sheet.
Click below to download.Today, we'll be working with 10" squares from a Layer Cake, utilizing the Eight at a Time HST method to achieve 4 ½" HSTs.
To bring our Valentine's Envelope Pillow to life, you'll need the following supplies and materials:
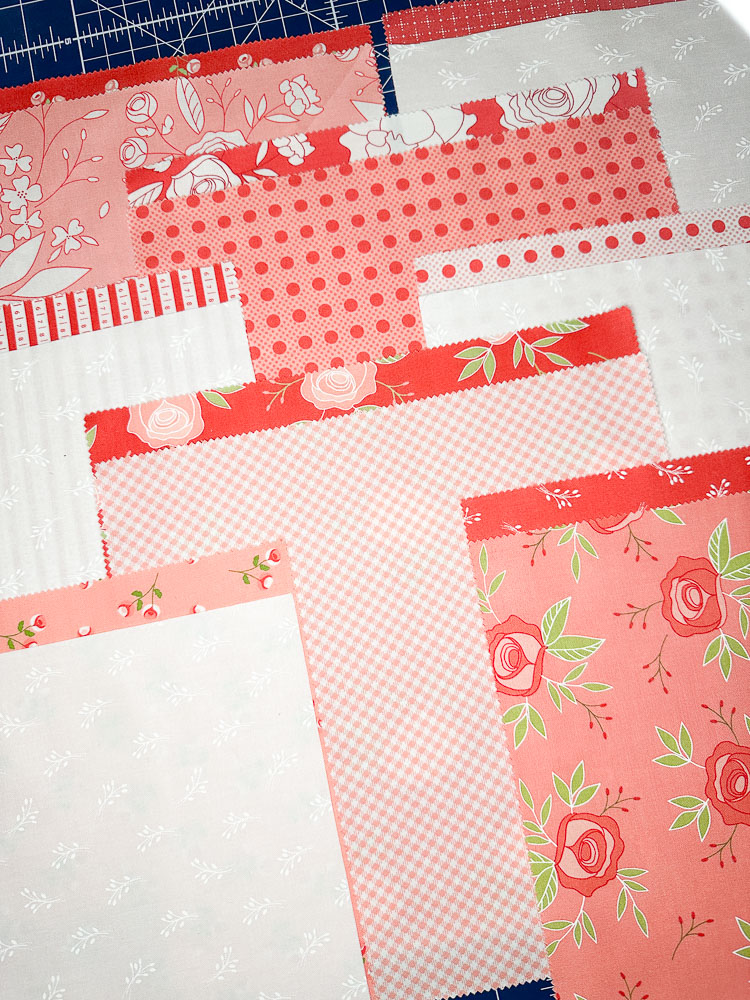
| Materials: • Fabric A | Heart Block Fabrics (12) 10" fabric squares combination of coordinating light-dark fabrics • Fabric B | Background Fabric 2 ½ Yards of coordinating fabric • Fabric C | Pillow Liner and Quilt Backing 3 yards • Batting ¾ yards |
Supplies: • Spray Starch • Rotary cutter / mat • Ruler • Iron / Ironing board • Marking tool Pins |
Before we dive in, ensure you have all your materials organized and ready.
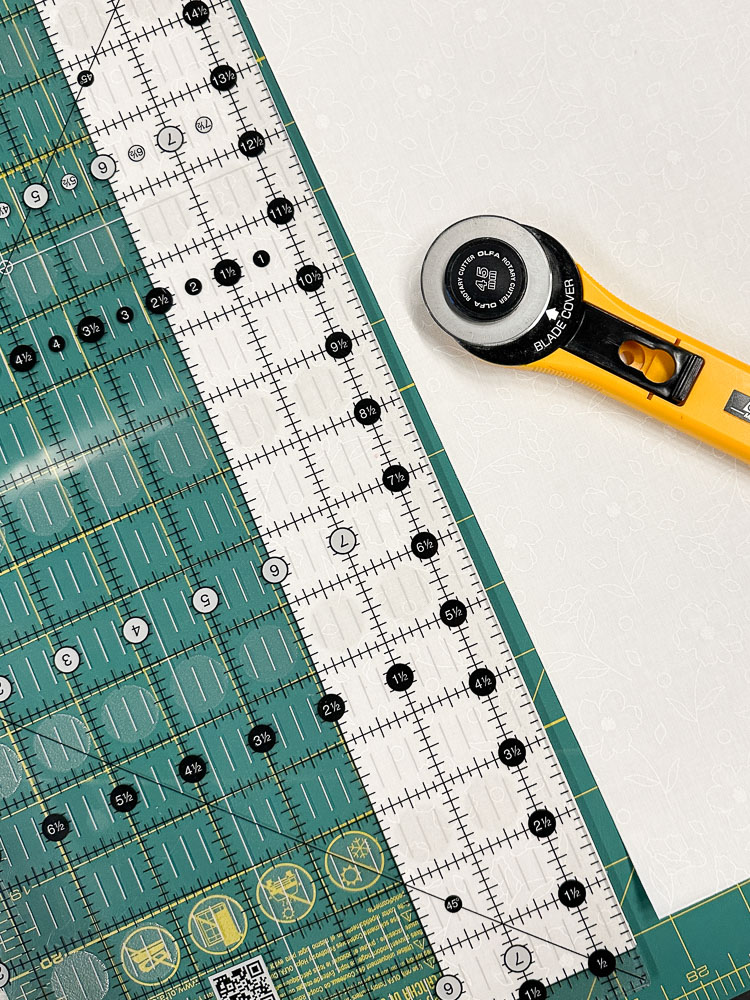
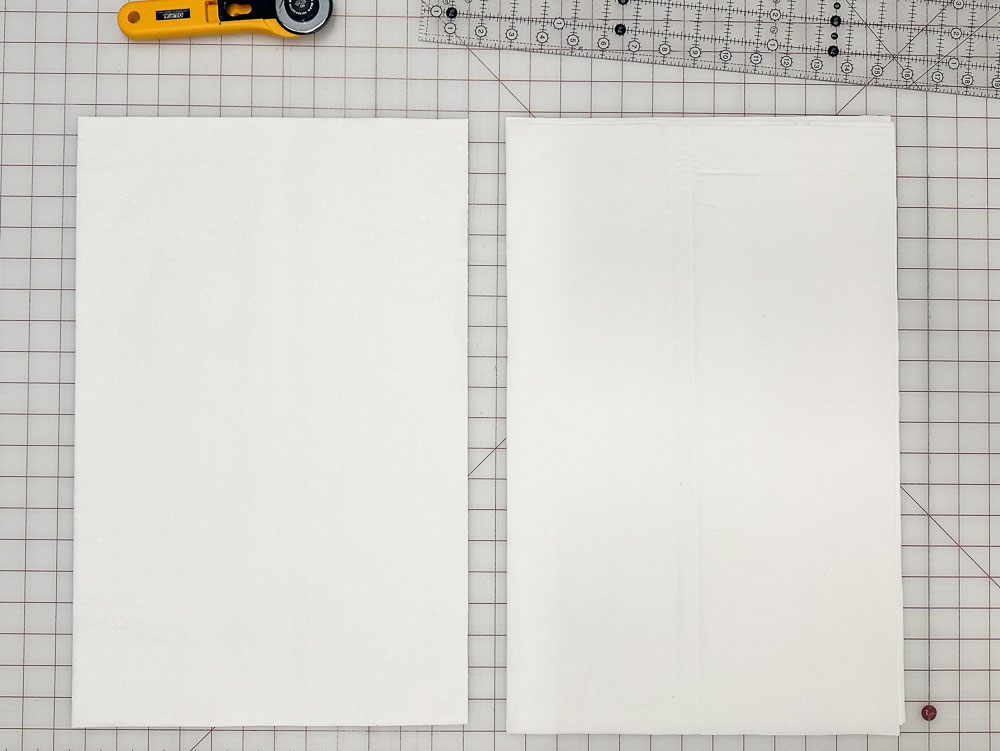
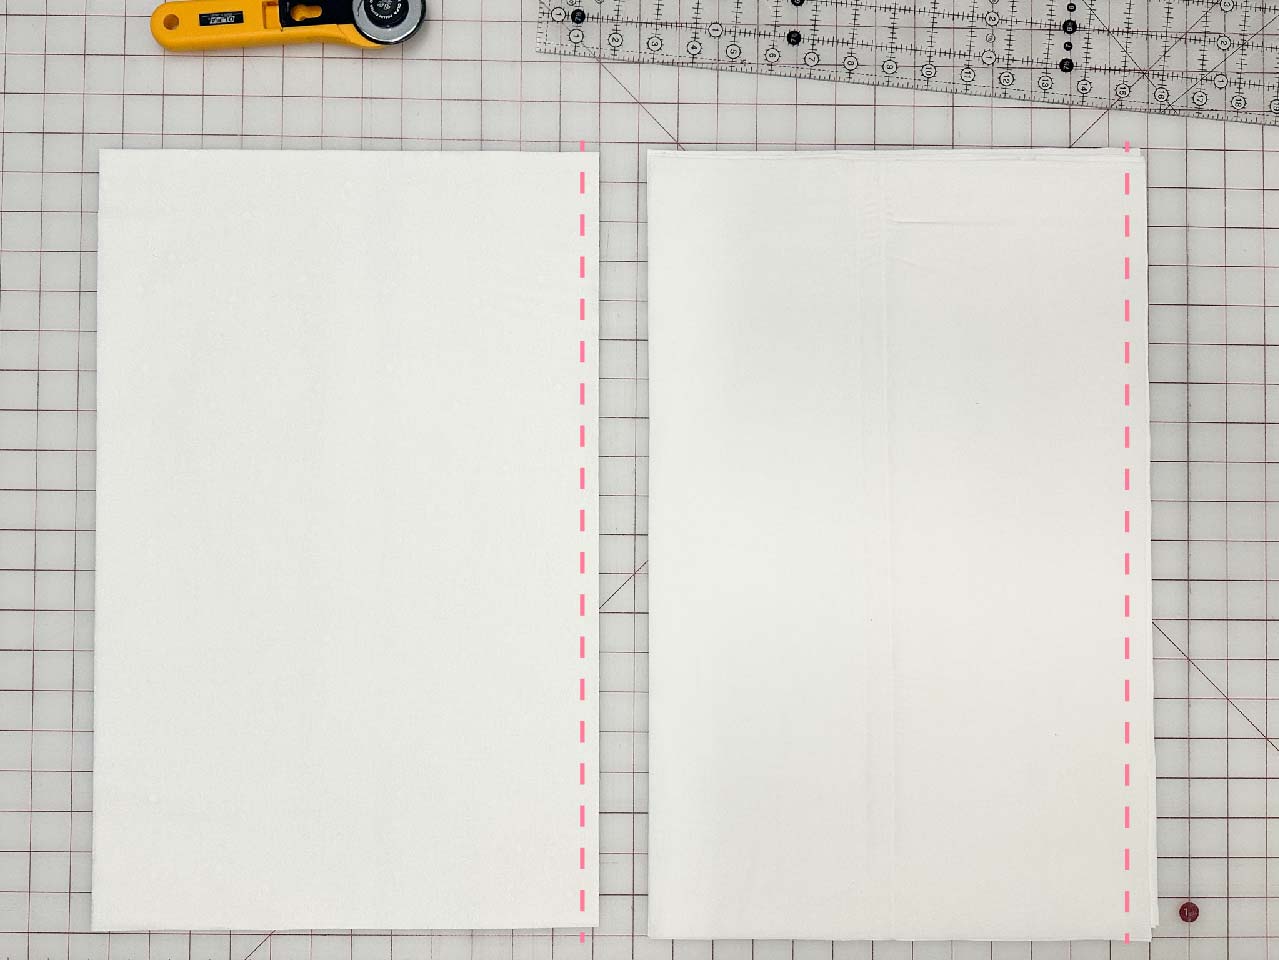
CUTTING
You have the flexibility to complete all the cutting beforehand or follow along, cutting as we go!
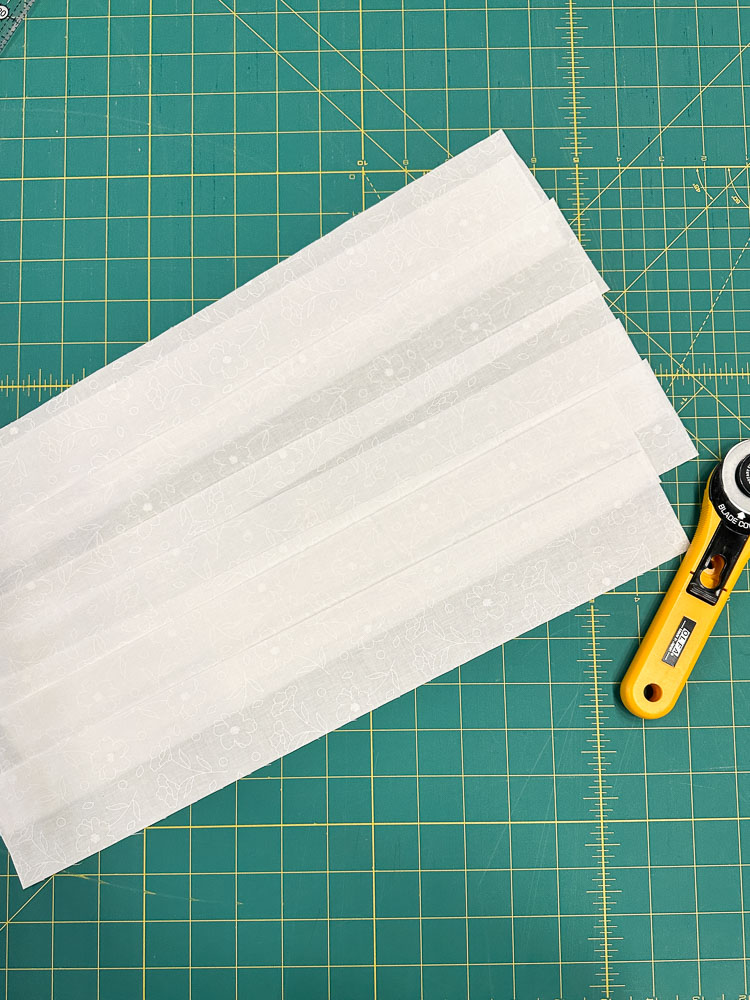
Fabric B
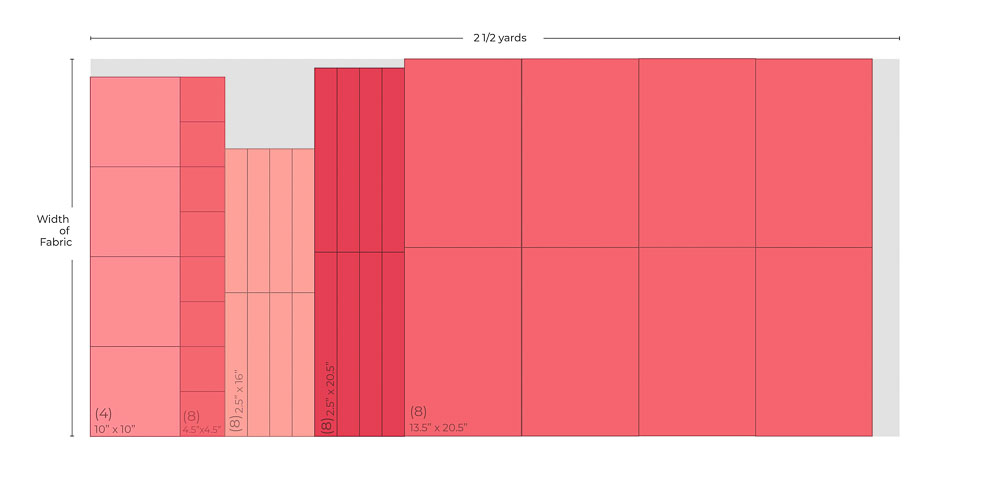
Fabric C
| Fabric A | Fabric B | Fabric C |
| (12) 10" squares | Combination of coordinating light to dark fabrics | (4) 10" squares (8) 4 ½" squares (8) 2 ½" x 16" strips (8) 2 ½" x 20 ½ strips (8) 13 ½" x 20 ½" rectangles |
(8) 13 ½" x 20 ½" rectangles |
INSTRUCTIONS
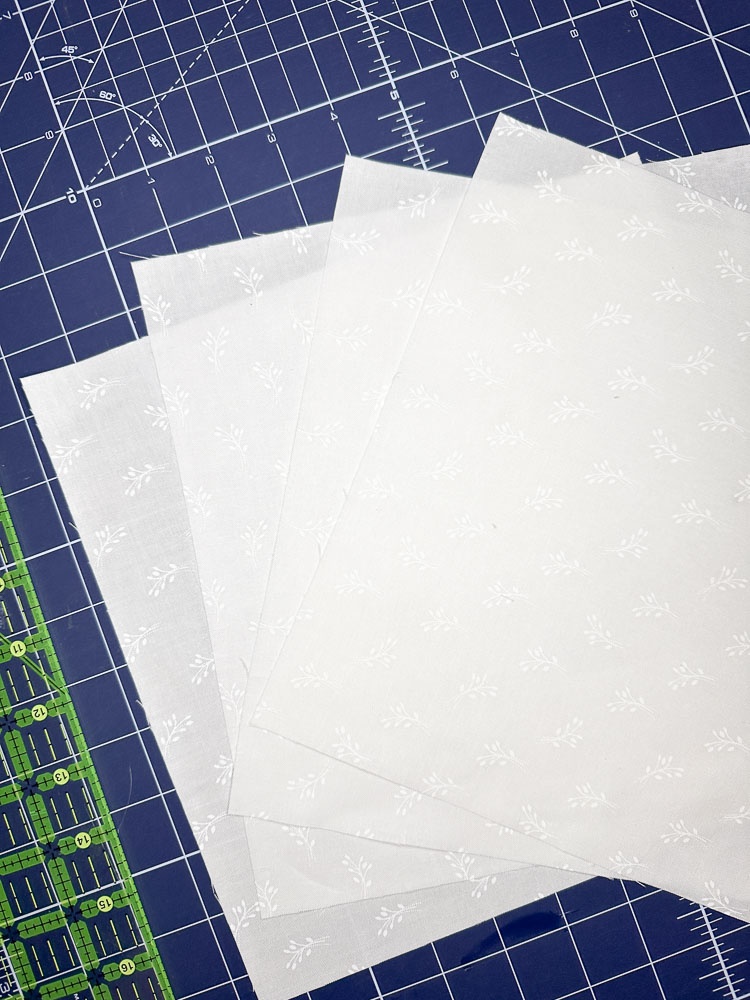
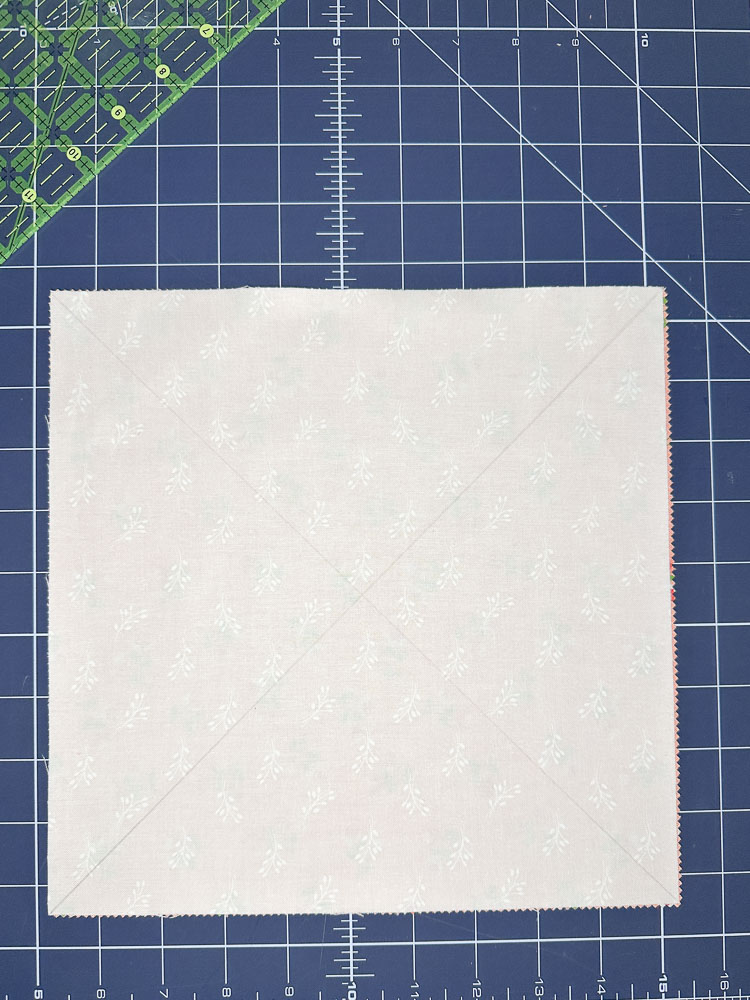
From Fabric B, cut (4) 10" x 10" squares and (8) 4 ½" x 4 ½" squares.
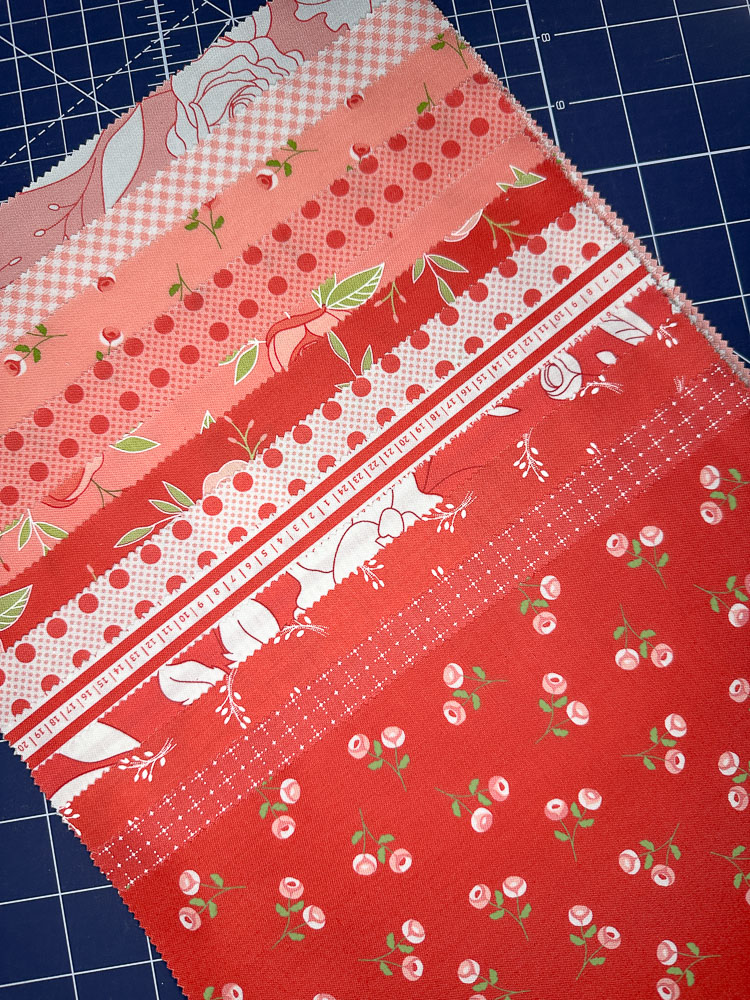
I'm using 12 layers of Beautiful Day by Corey Yoder Layer Cake for my Fabric A.
Now, pair up all the 10" Fabric A squares with the (4) 10" x 10" Fabric B squares.
Create 8 Half Square Triangles (HST) from each pair using the Eight at a Time method.
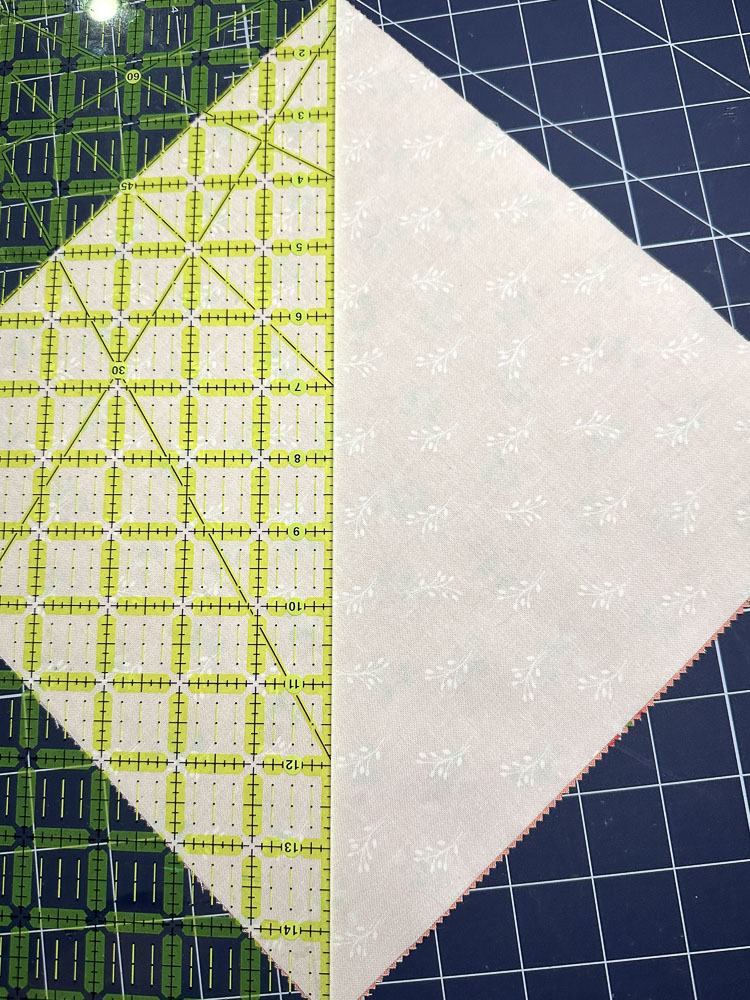
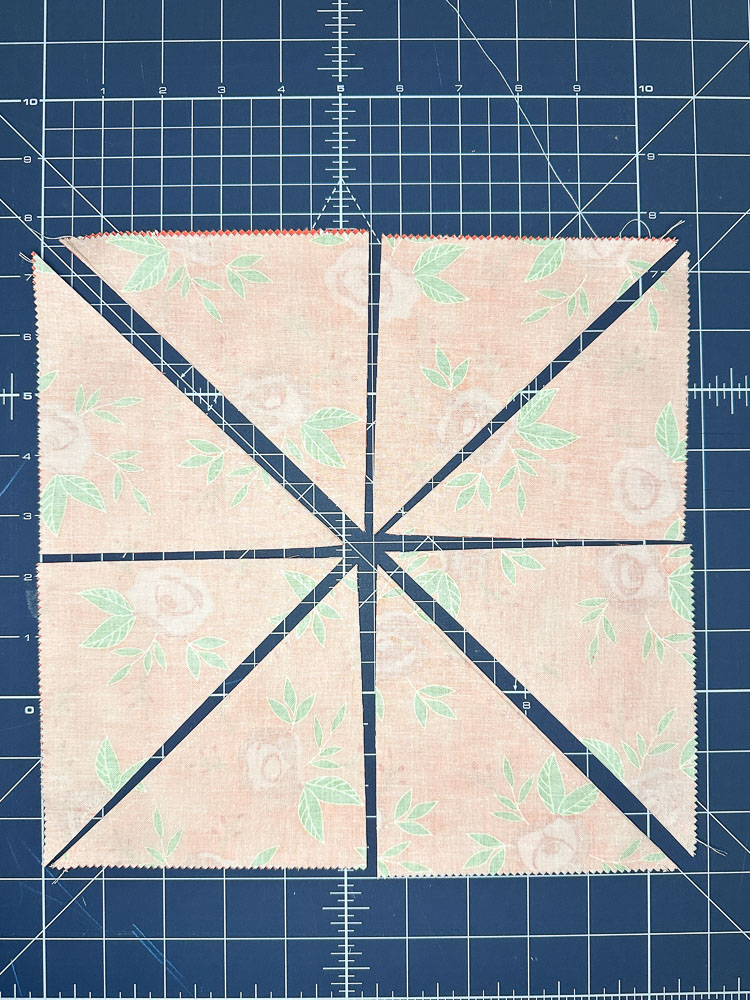
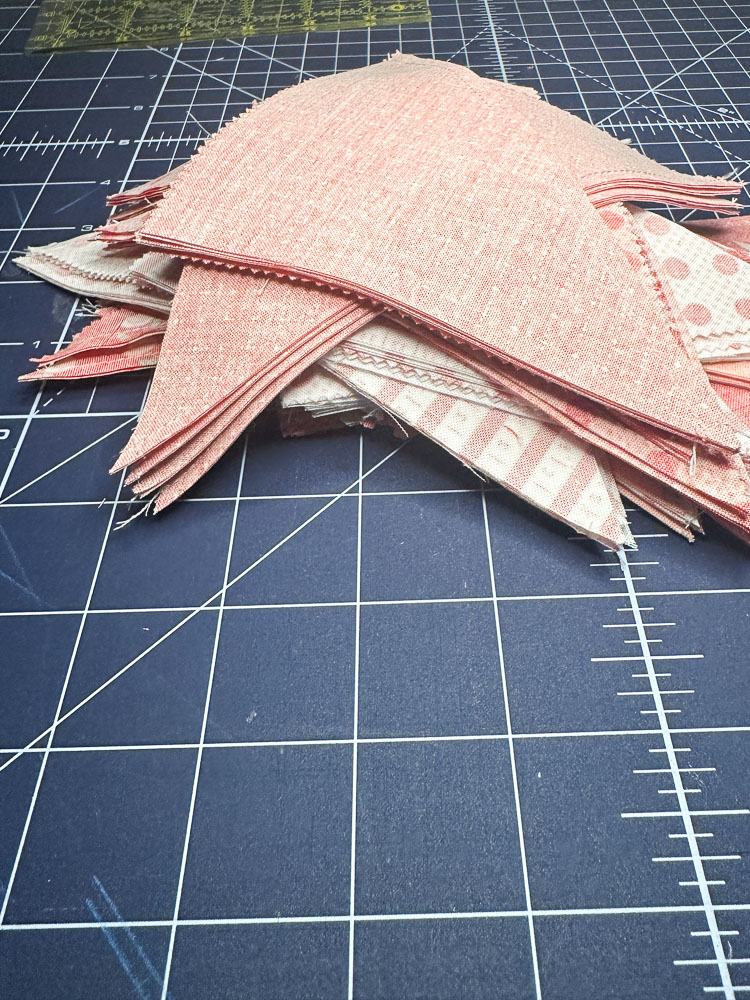
Square all the HST to 4 ½" x 4 ½".

Next, arrange your 4 heart blocks using the HSTs and the (8) 4 ½" x 4 ½" background squares.
*You will have (4) HST left over.
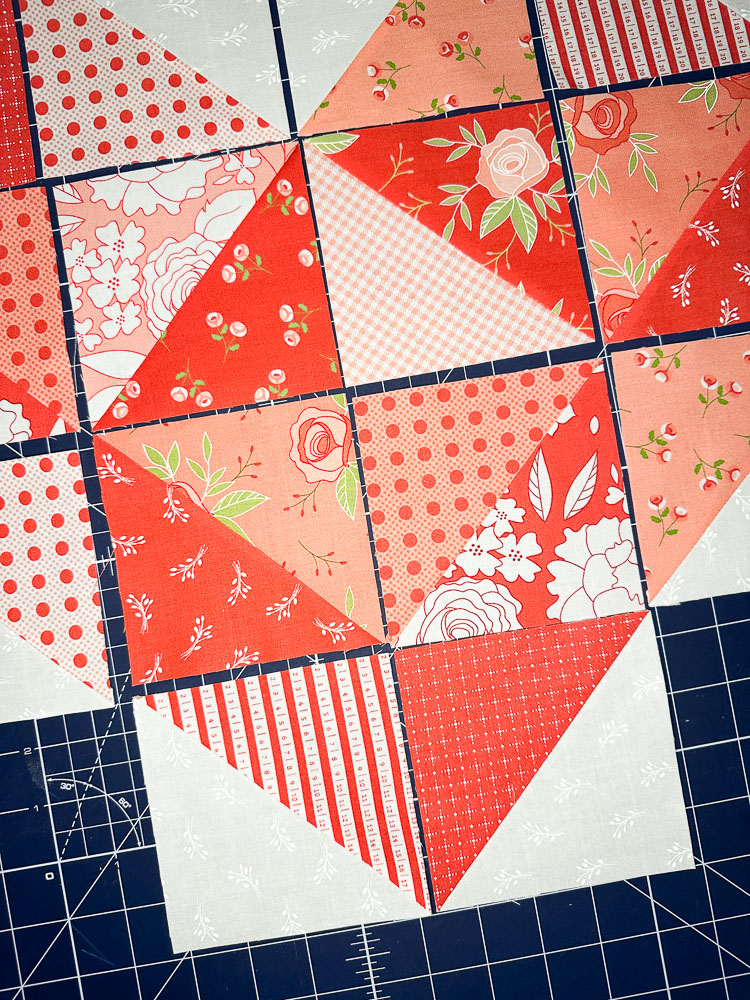
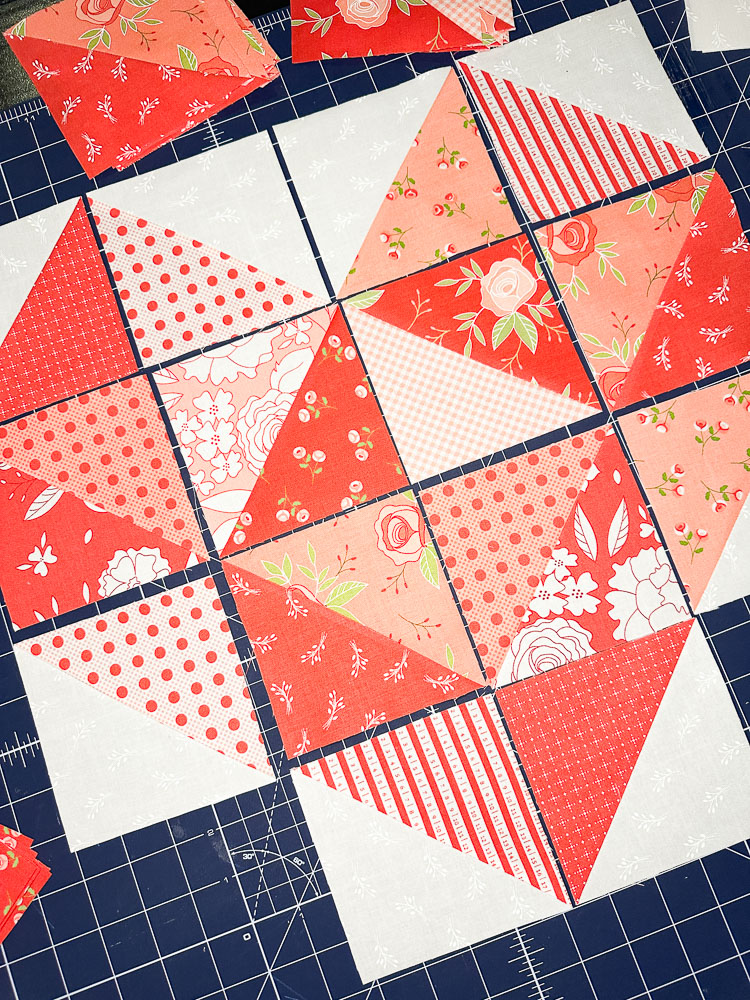
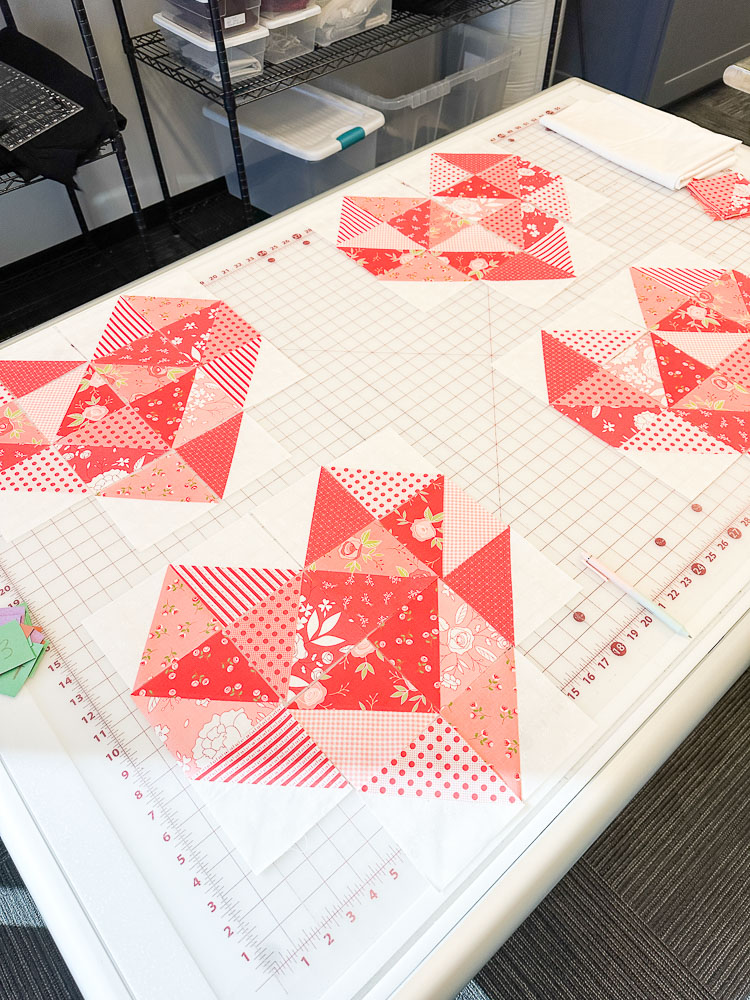
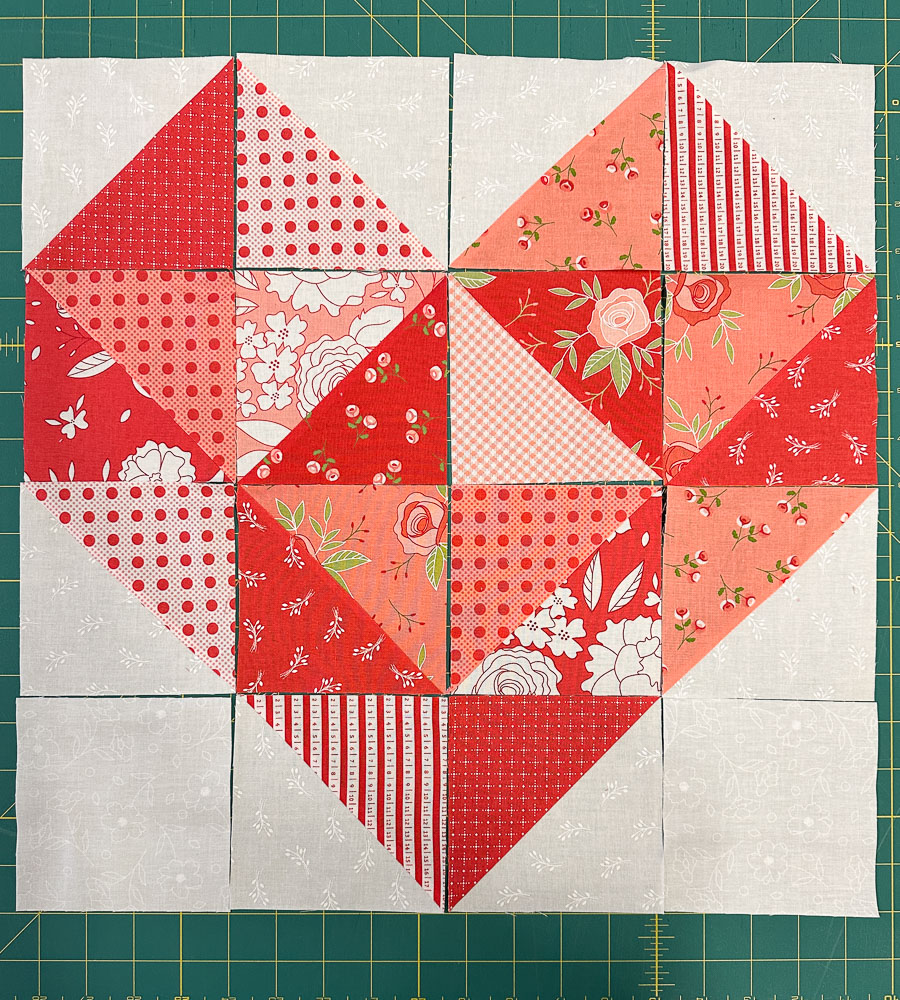
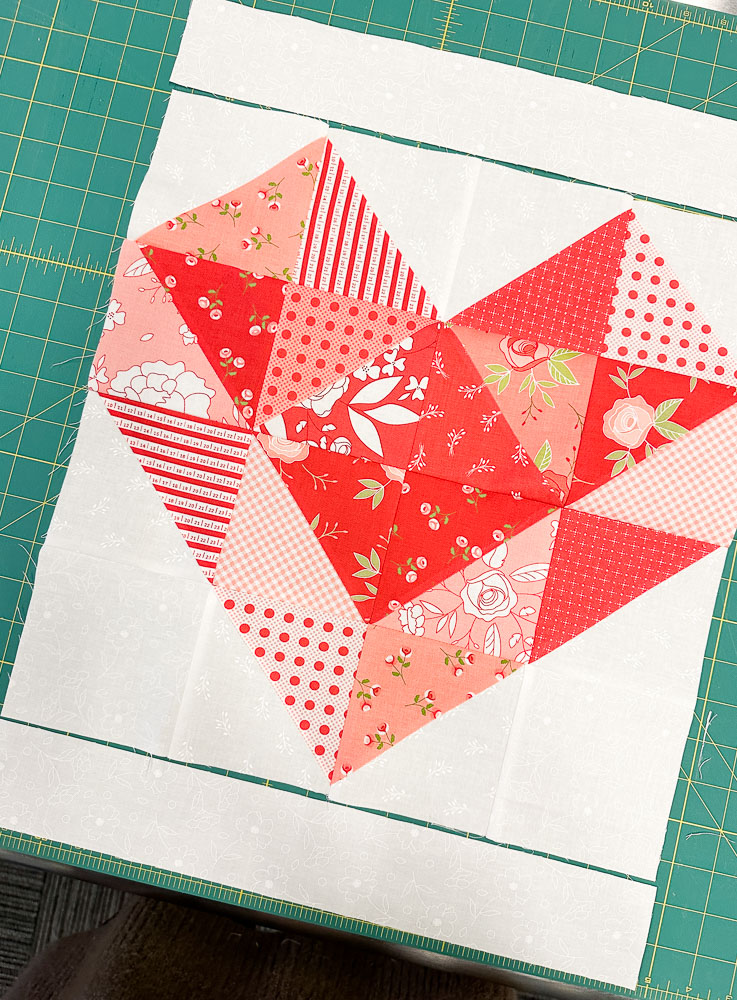
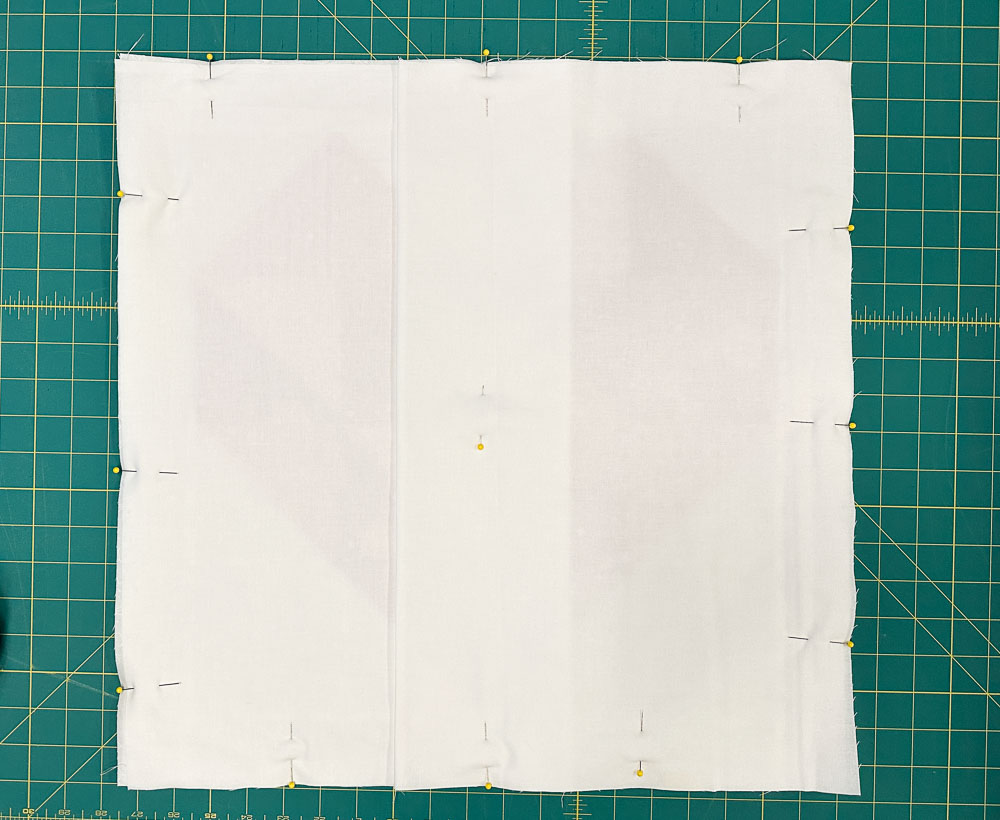
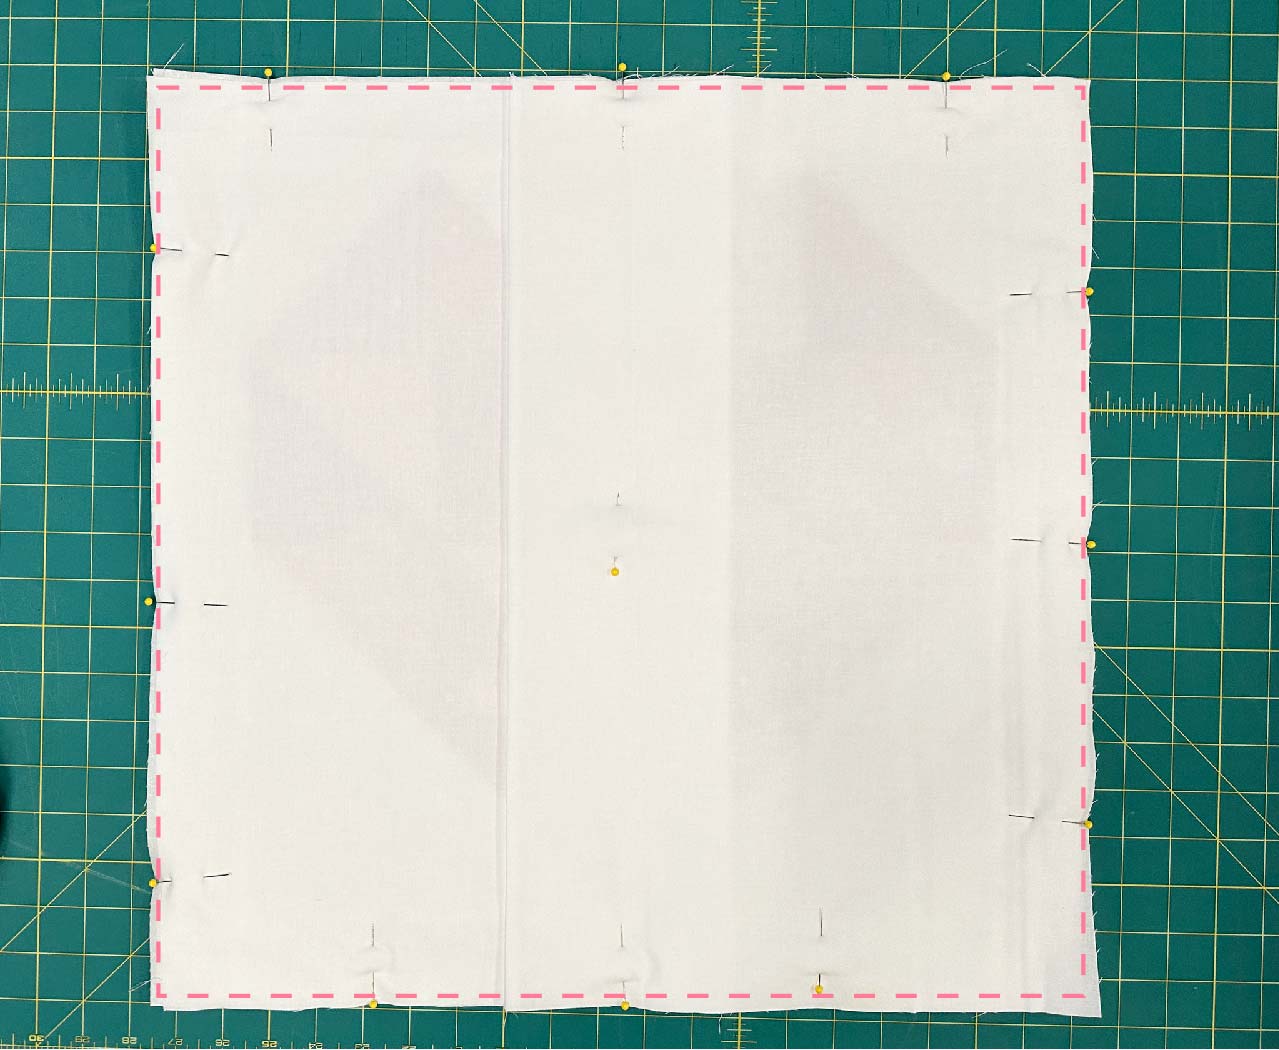
Sew together each heart block, starting with sewing pairs together.
Be sure to keep track of the placement of each HST – a photo for reference or a design wall can be handy!
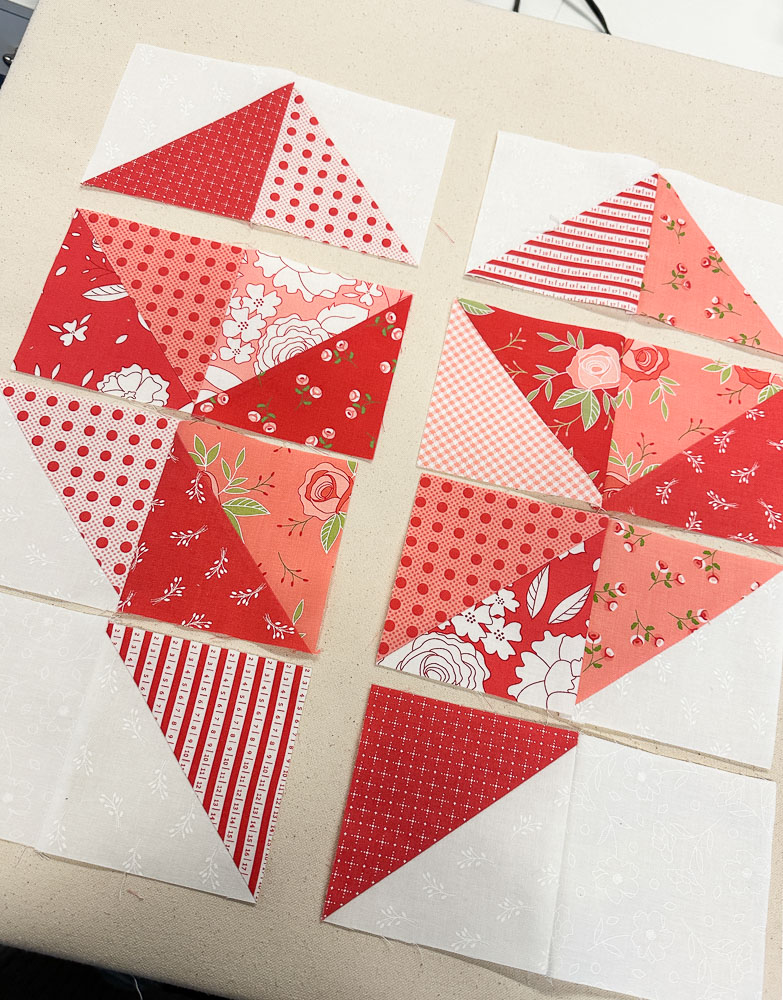
Next, sew pairings together to create rows.
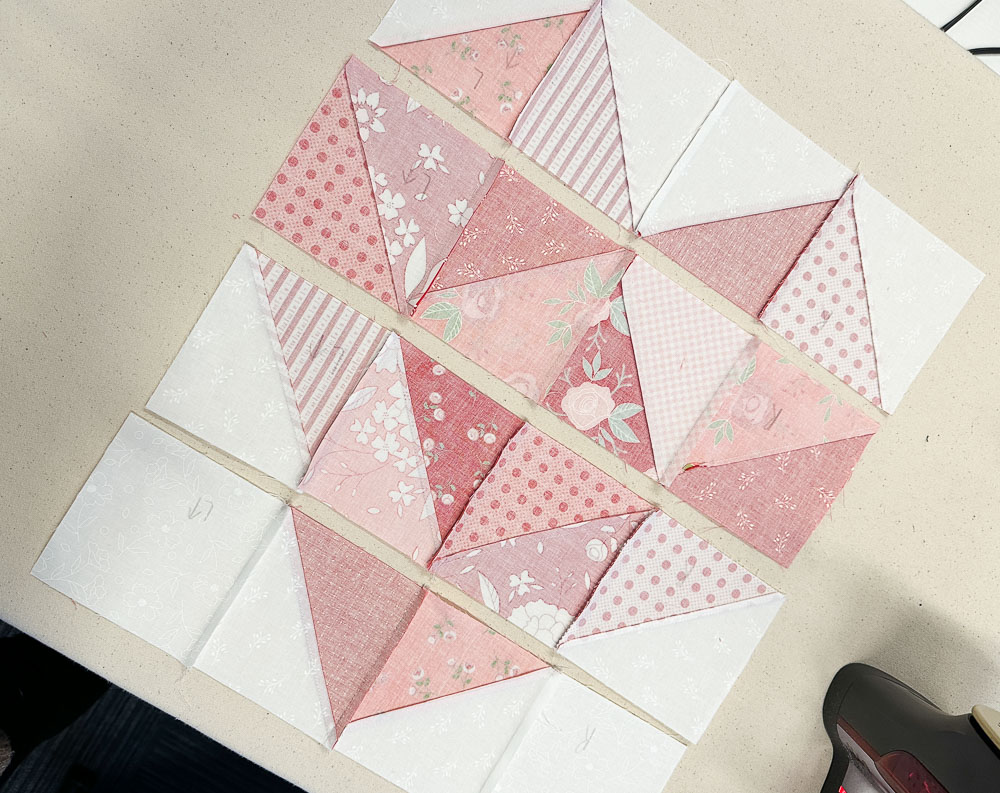
Once your pieces are sewn together and rows are created for your block, press your seams in alternating directions.
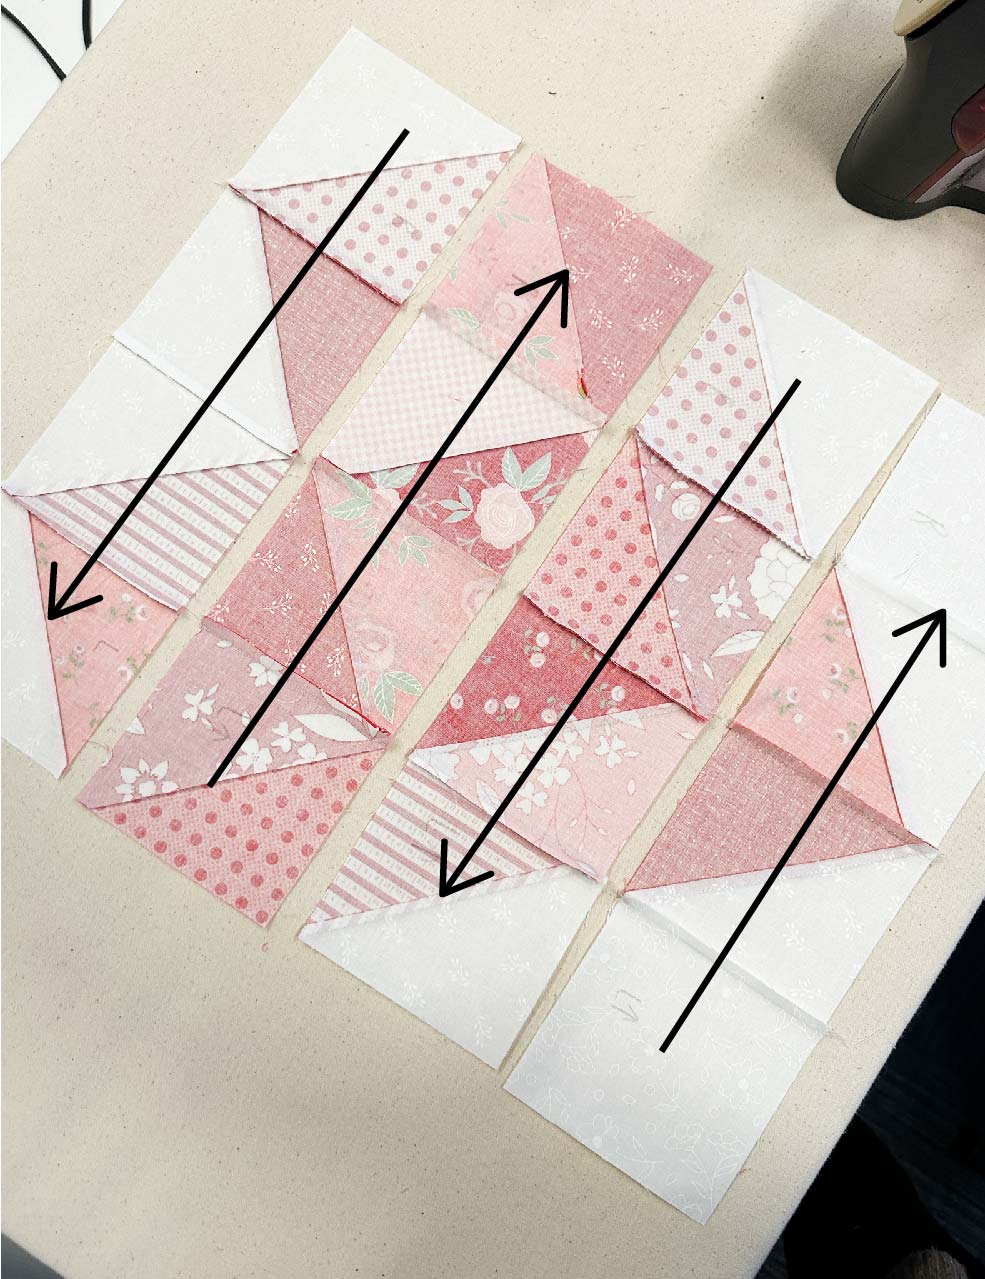
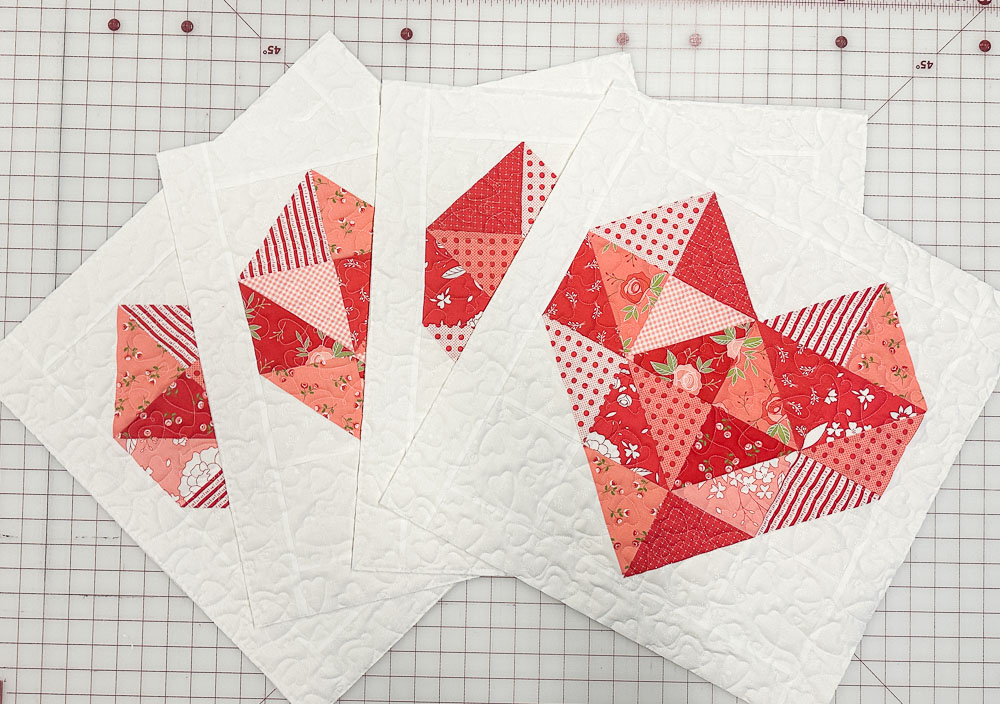
Sew rows together to complete your heart block!
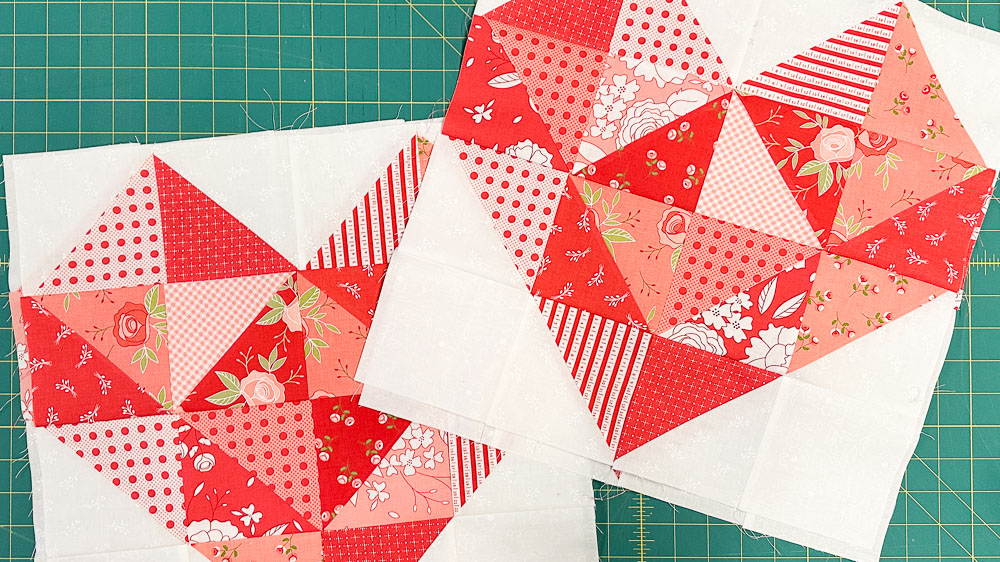
COMPLETING THE PILLOW FRONTS
To finish off our blocks for our pillow fronts we'll need (8) 2 ½" x 16" and (8) 2 ½" x 20 ½" strips from Fabric B.
Attach two Fabric B 16" strips to the top and bottom of each heart block
Next attach two Fabric B 20 ½" strips to each side of the heart block.
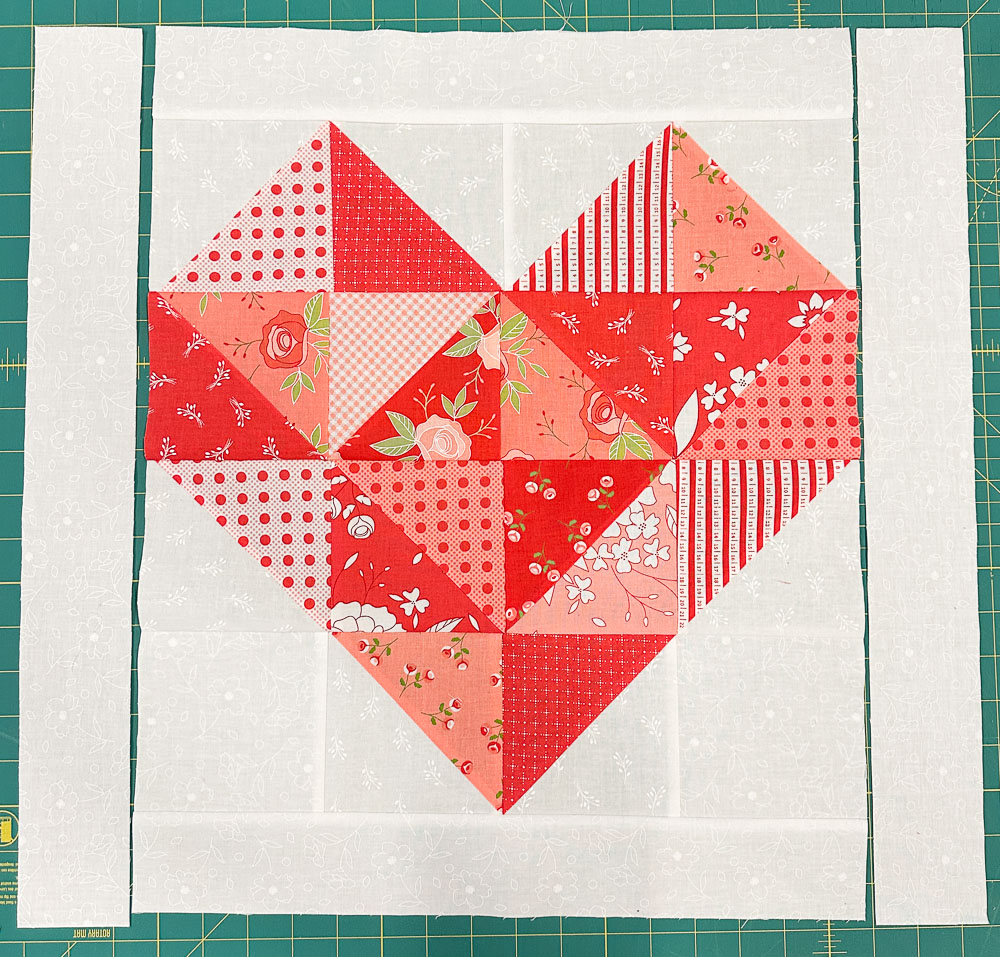
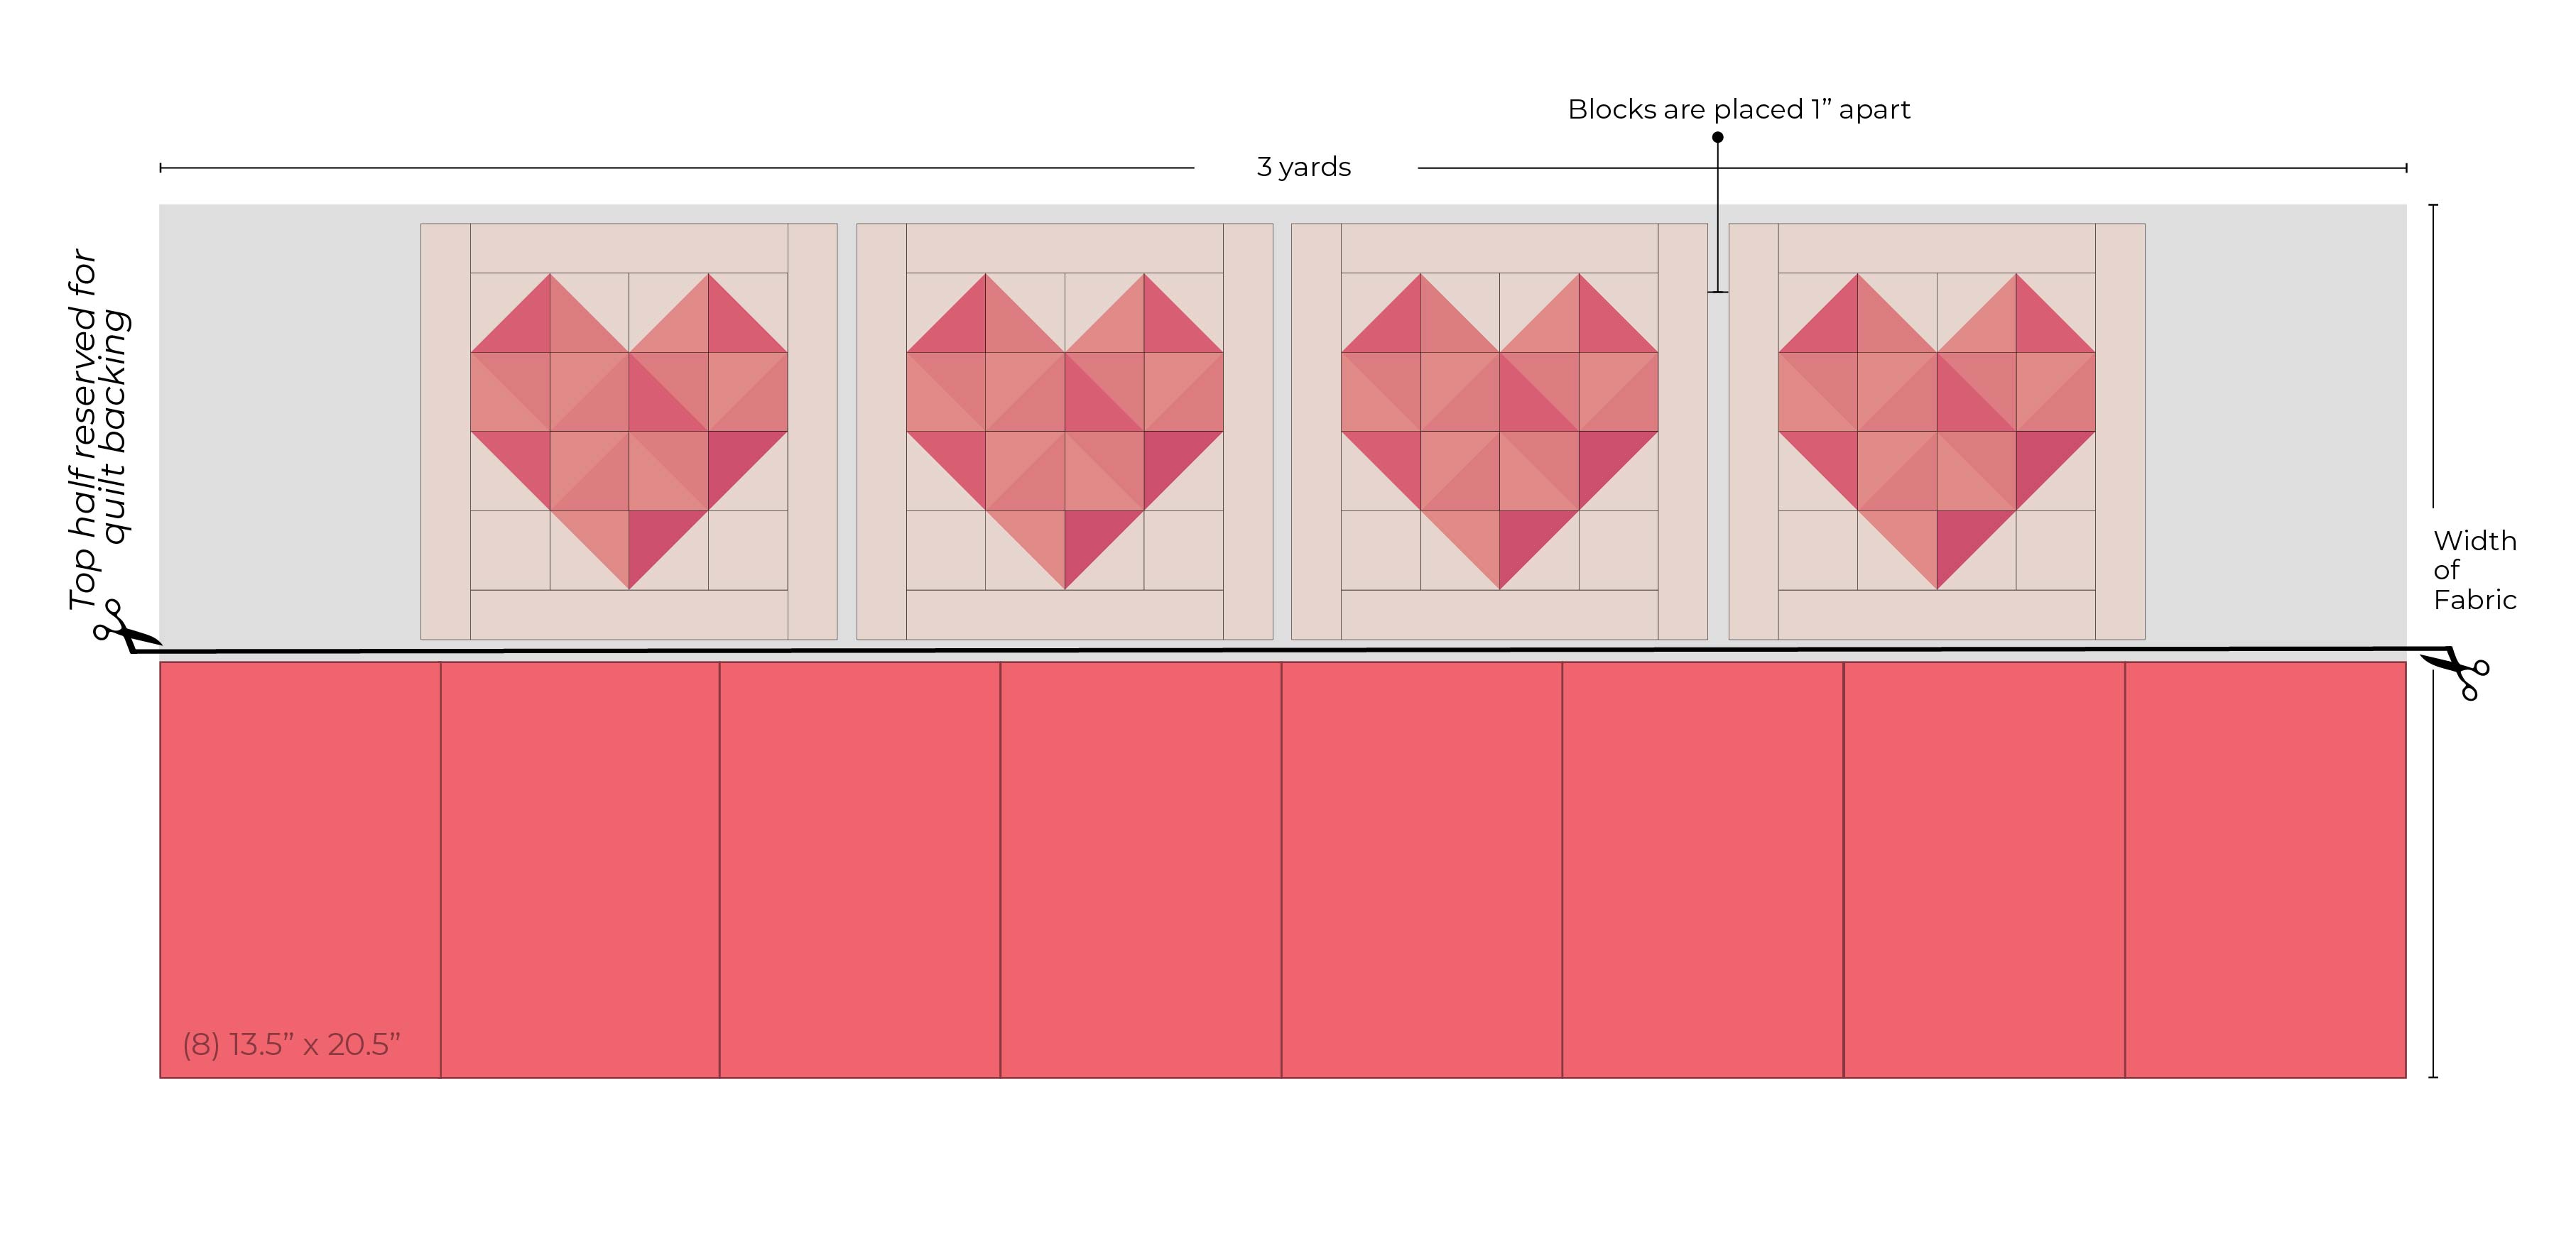
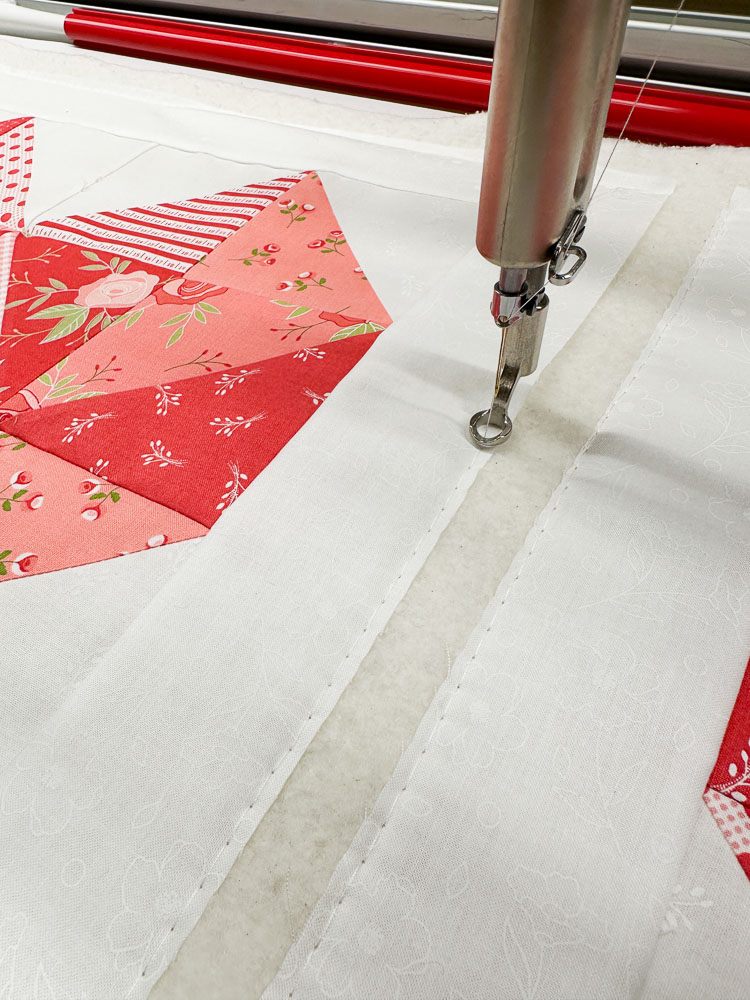
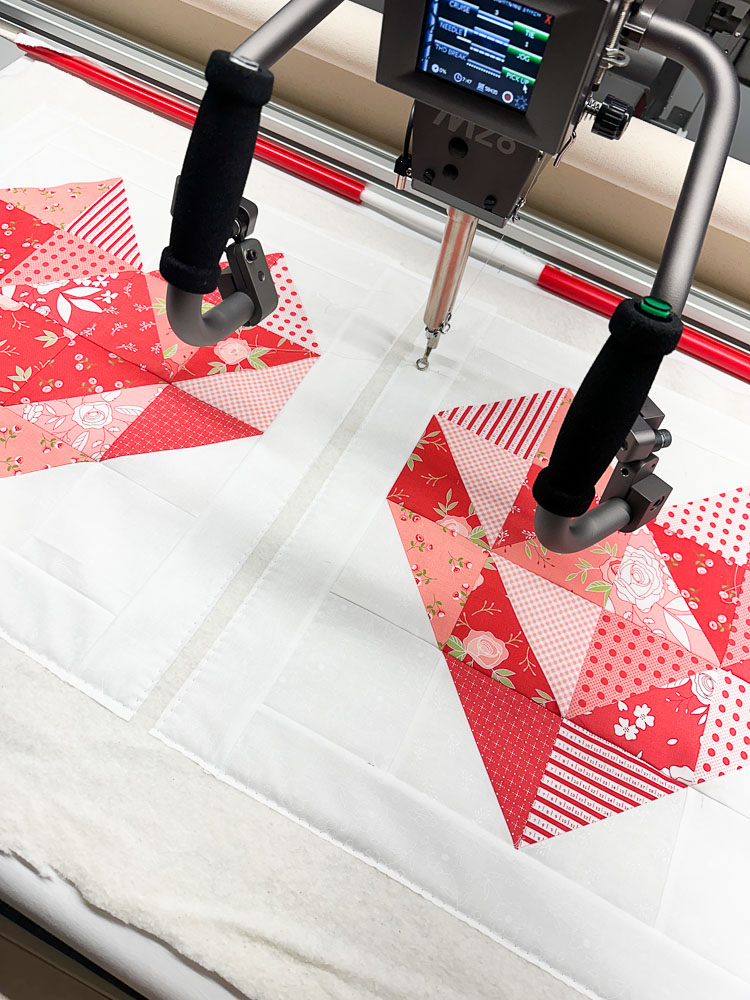
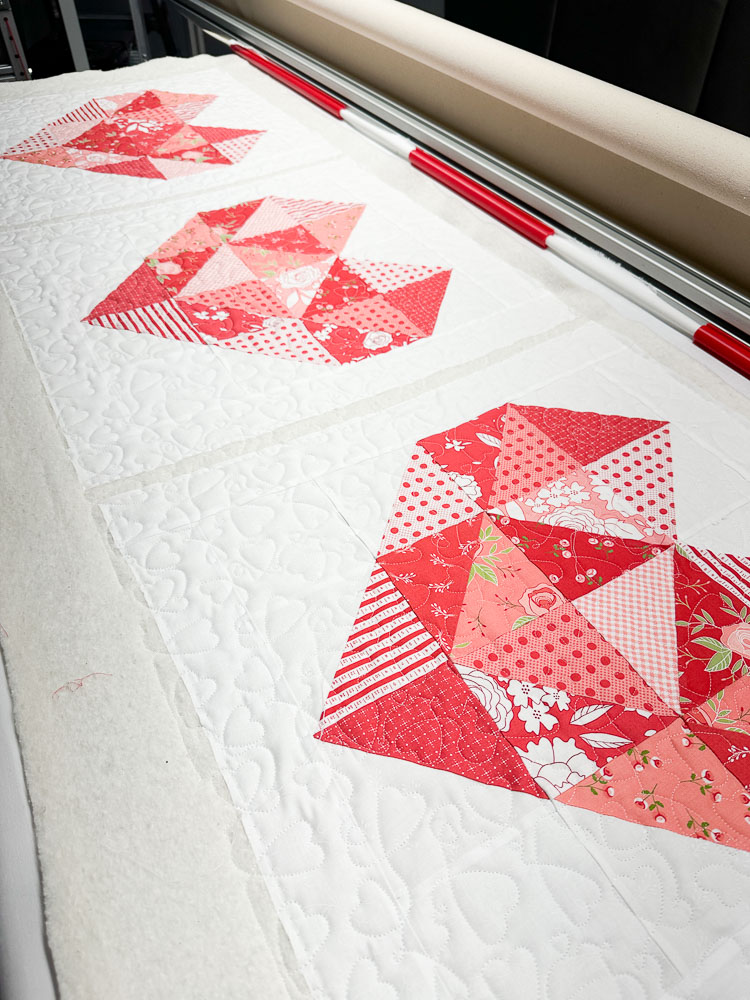
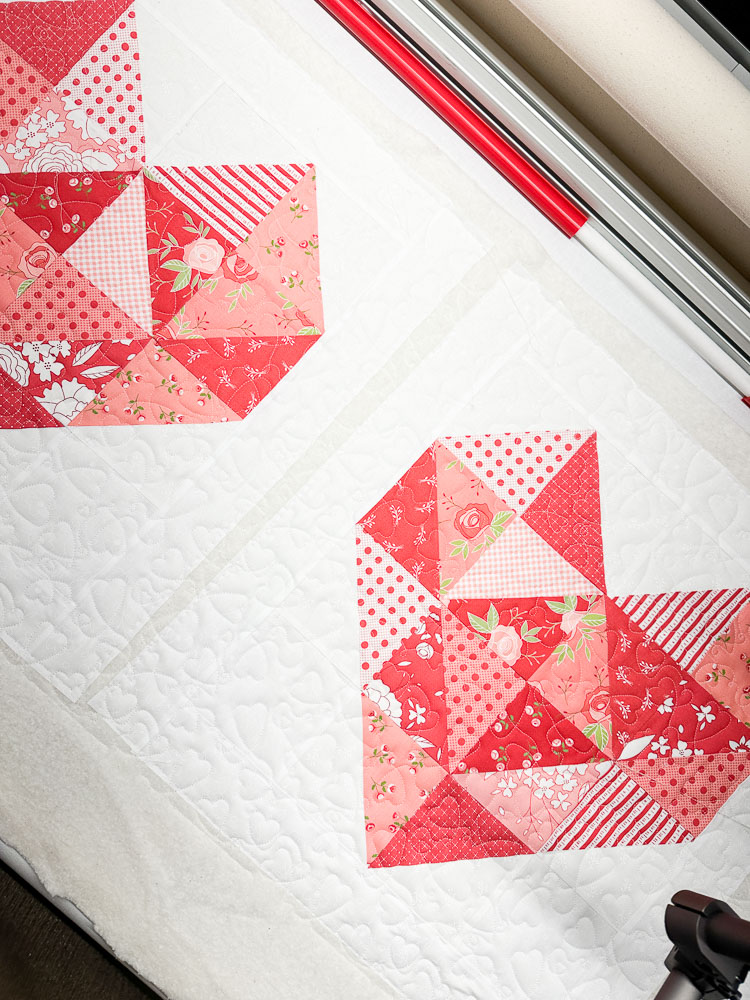
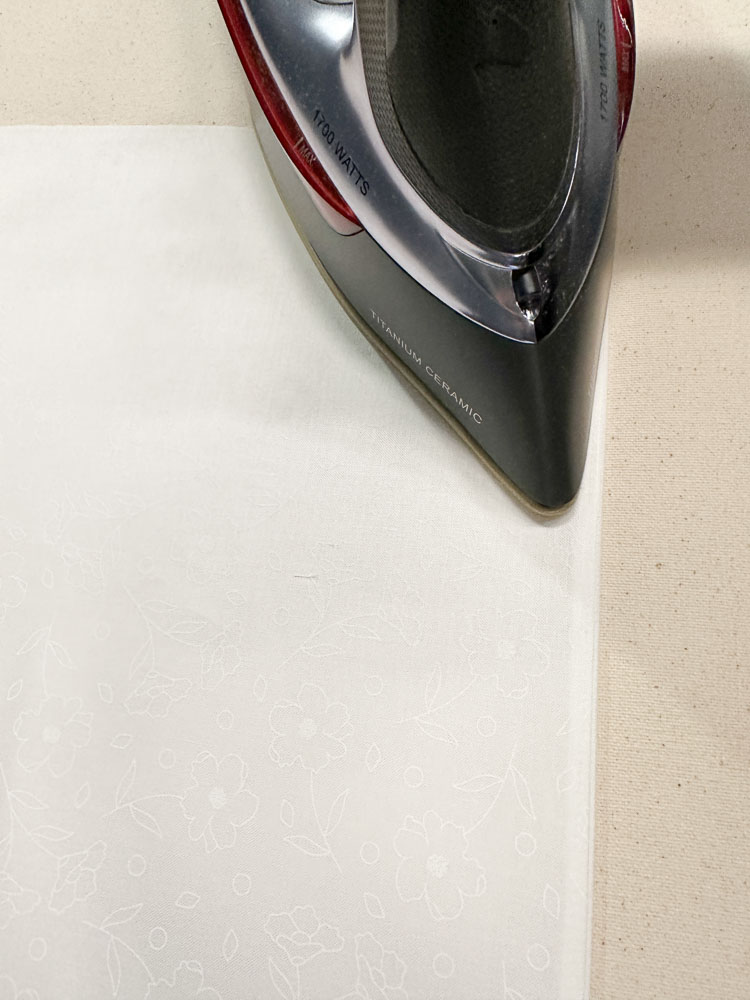
Your Heart Envelope pillow fronts are now complete and ready to quilt! I choose to do an edge to edge design on my pillows.
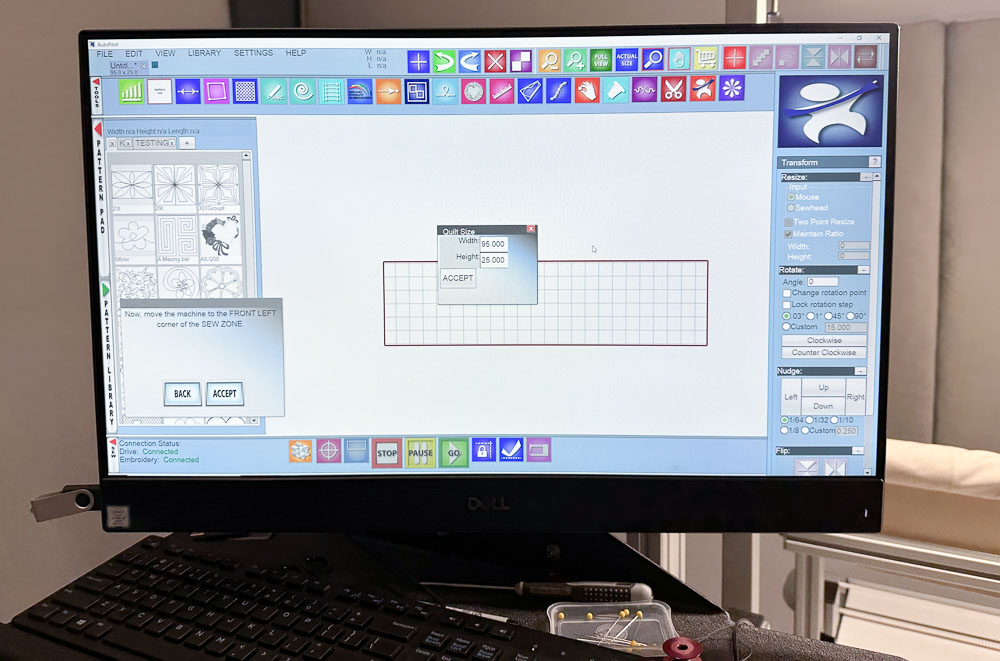
Ill show you how I loaded my pillow fronts on my INNOVA Pro Frame but feel free to quilt your pillow fronts how you desire!
Start with loading Fabric C as backing and then the batting.
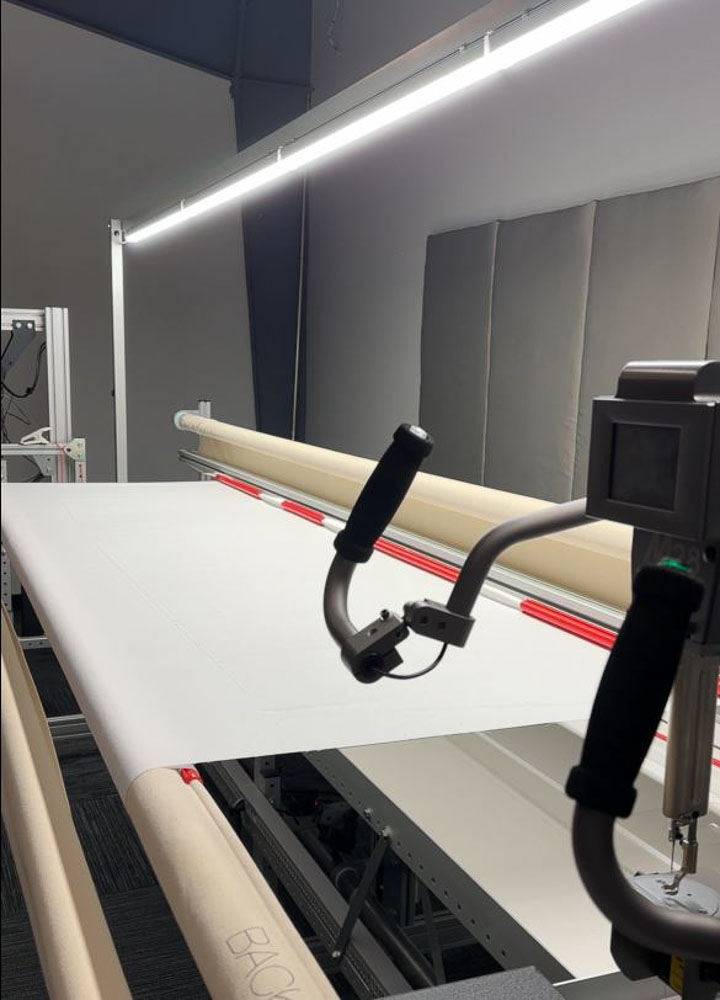
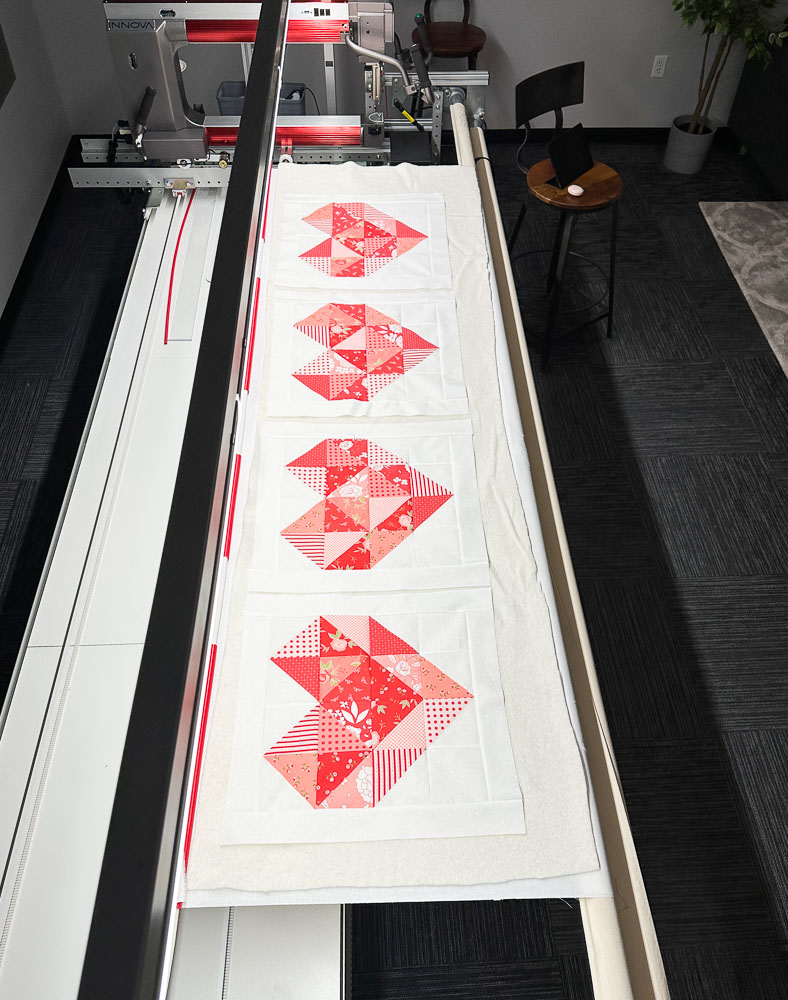
Layout out each Heart Pillow front, I placed mine roughly 1" apart.


PILLOW CONSTRUCTION PREP
When removing your quilted pillow fronts be sure to reserve your scraps, we will be using the remaining Fabric C for our envelope pieces.
Trim all four Heart Pillow fronts.

Cut (8) 13 ½" x 20 ½" from the remaining Fabric C and (8) 13 ½" x 20 ½" from Fabric B.
Pair one background fabric rectangle with one liner fabric rectangle with the right sides together.
Sew down one long edge.
PILLOW CONSTRUCTION
Time to make envelope pillows!
Lay one quilted heart block down right side up
Place 1 envelope piece to the left of right side with the right side facing down.
Place the second envelope piece on the opposite side, also right side down.

For a clean corner trim all four corners before turning right side out.
Turn your pillowcase right side out.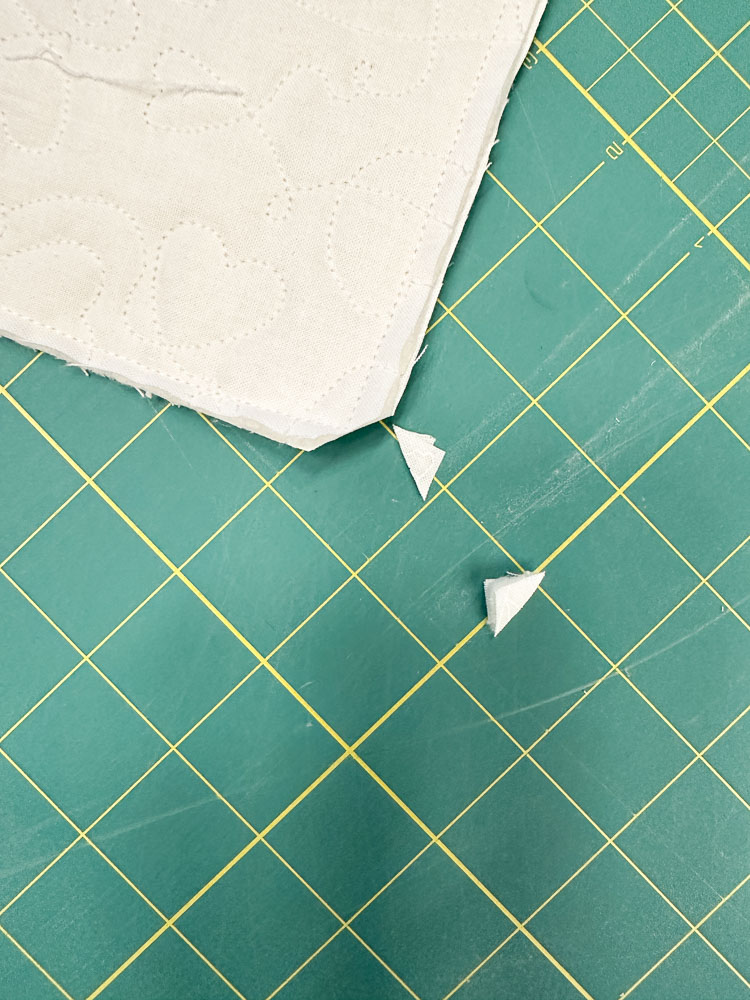
To finish off your pillowcase sew 5/8" around all four sides.
Repeat this step for the remaining pillow covers.

We'd love to see your finished projects - follow and tag us on social media @INNOVAlongarm.
Stay tuned for more delightful quilting projects. Happy quilting, and can't wait to see your beautiful creations!
When you subscribe to the blog, we will send you an e-mail when there are new updates on the site so you wouldn't miss them.
Steps to get your Free 14 Day Trial for AutoPilot™ Simulator:
- Get your serial number by clicking here, fill out the form and hit the SUBMIT button.
*Your serial number will arrive in the email you provided. Check your junk folder if you do not see it right away. - Download the AutoPilot Mach 3 Simulator Free Trial Version here.
*You will need a minimum of Windows 8 pro 64bit. - Follow the prompts to install and activate the simulator with your provided serial number.
*If you get a message saying MSFT Defender is protecting your computer, click more and run anyway. - Enjoy your AutoPilot™ Mach 3 Simulator Free Trial Version for 14 days, then contact your local INNOVA dealer to order your new AutoPilot™ Mach 3 and enjoy those features for the lifetime of the product!
Disclaimer
License and Disclaimer of Warranty Information By downloading, wiring to or using the AutoPilot Simulator program and hardware, you acknowledge acceptance of the following DISCLAIMER OF WARRANTY: DISCLAIMER OF WARRANTY ALL THE COMPUTER PROGRAMS AND SOFTWARE ARE SOLD "AS IS" WITHOUT WARRANTY OF ANY KIND. WE MAKE NO WARRANTIES, EXPRESS OR IMPLIED, THAT THEY ARE FREE OF ERROR, OR ARE CONSISTENT WITH ANY PARTICULAR STANDARD OF MERCHANTABILITY, OR THAT THEY WILL MEET YOUR REQUIREMENTS FOR ANY PARTICULAR APPLICATION. THEY SHOULD NOT BE RELIED ON FOR SOLVING A PROBLEM WHOSE INCORRECT SOLUTION COULD RESULT IN INJURY TO A PERSON OR LOSS OF PROPERTY. IF YOU DO USE THEM IN SUCH A MANNER, IT IS AT YOUR OWN RISK. THE AUTHOR AND PUBLISHER DISCLAIM ALL LIABILITY FOR DIRECT, INDIRECT, OR CONSEQUENTIAL DAMAGES RESULTING FROM YOUR USE OF THE PROGRAMS OR FROM CONNECTING IT TO YOUR MACHINE.
The computer programs AutoPilot™ Simulator are Copyright © 2019 of Neal A. Schwarzberger and ABM International, Inc.. AutoPilot™ Simulator is a trademark of ABM International, Inc. AutoPilot™ Simulator is a proprietary product, its concept, design and functionality are Property of ABM International, Inc.